
Hinges
Roles and Responsibilities:
Designed, programmed, and constructed a unique horror game experience using a full-size wooden door as the primary controller.
Used C# to create reliable player controls from Arduino distance and pressure sensors in the Unity engine.
Created designer-friendly inspector tools for altering difficulty values, monster spawn locations, and game speed.
Created lively and game-ready animation clips for monster enemies using Maya control rigs.
Game Overview:
Hinges is an alternate controller horror game experience, using a wooden door and accompanying hallway as the primary controller. Players take the role of the newest concierge at a haunted hotel, and must spend their shift looking into rooms to clear them of haunted personages and malicious presences. The player can interact with the hallway in the following ways:
Open the door a little to ‘peek’ into rooms, open fully to ‘enter’ rooms, and close it quickly to powerfully ‘slam’ rooms.
Pull the light switch inside each room to turn the light on, allowing temporary visbility while warding off potential monsters.
When the door is closed, knock on its surface to check for monsters inside.
A large portrait-mode television on the other side of the door creates the illusion of entering a new room each play session. The player’s goal is to keep the door open for at least 20 cumulative seconds in order to ‘clear’ each room, while keeping themself save from entities within by flashing the light switch, slamming the door, and knocking to check if the coast is clear. The video on the left displays an audience playing the game with the full controller during the Utah Games Launch, while the video on the right showcases a screen-recorded clip of gameplay for clarity purposes - what the players saw inside the door!
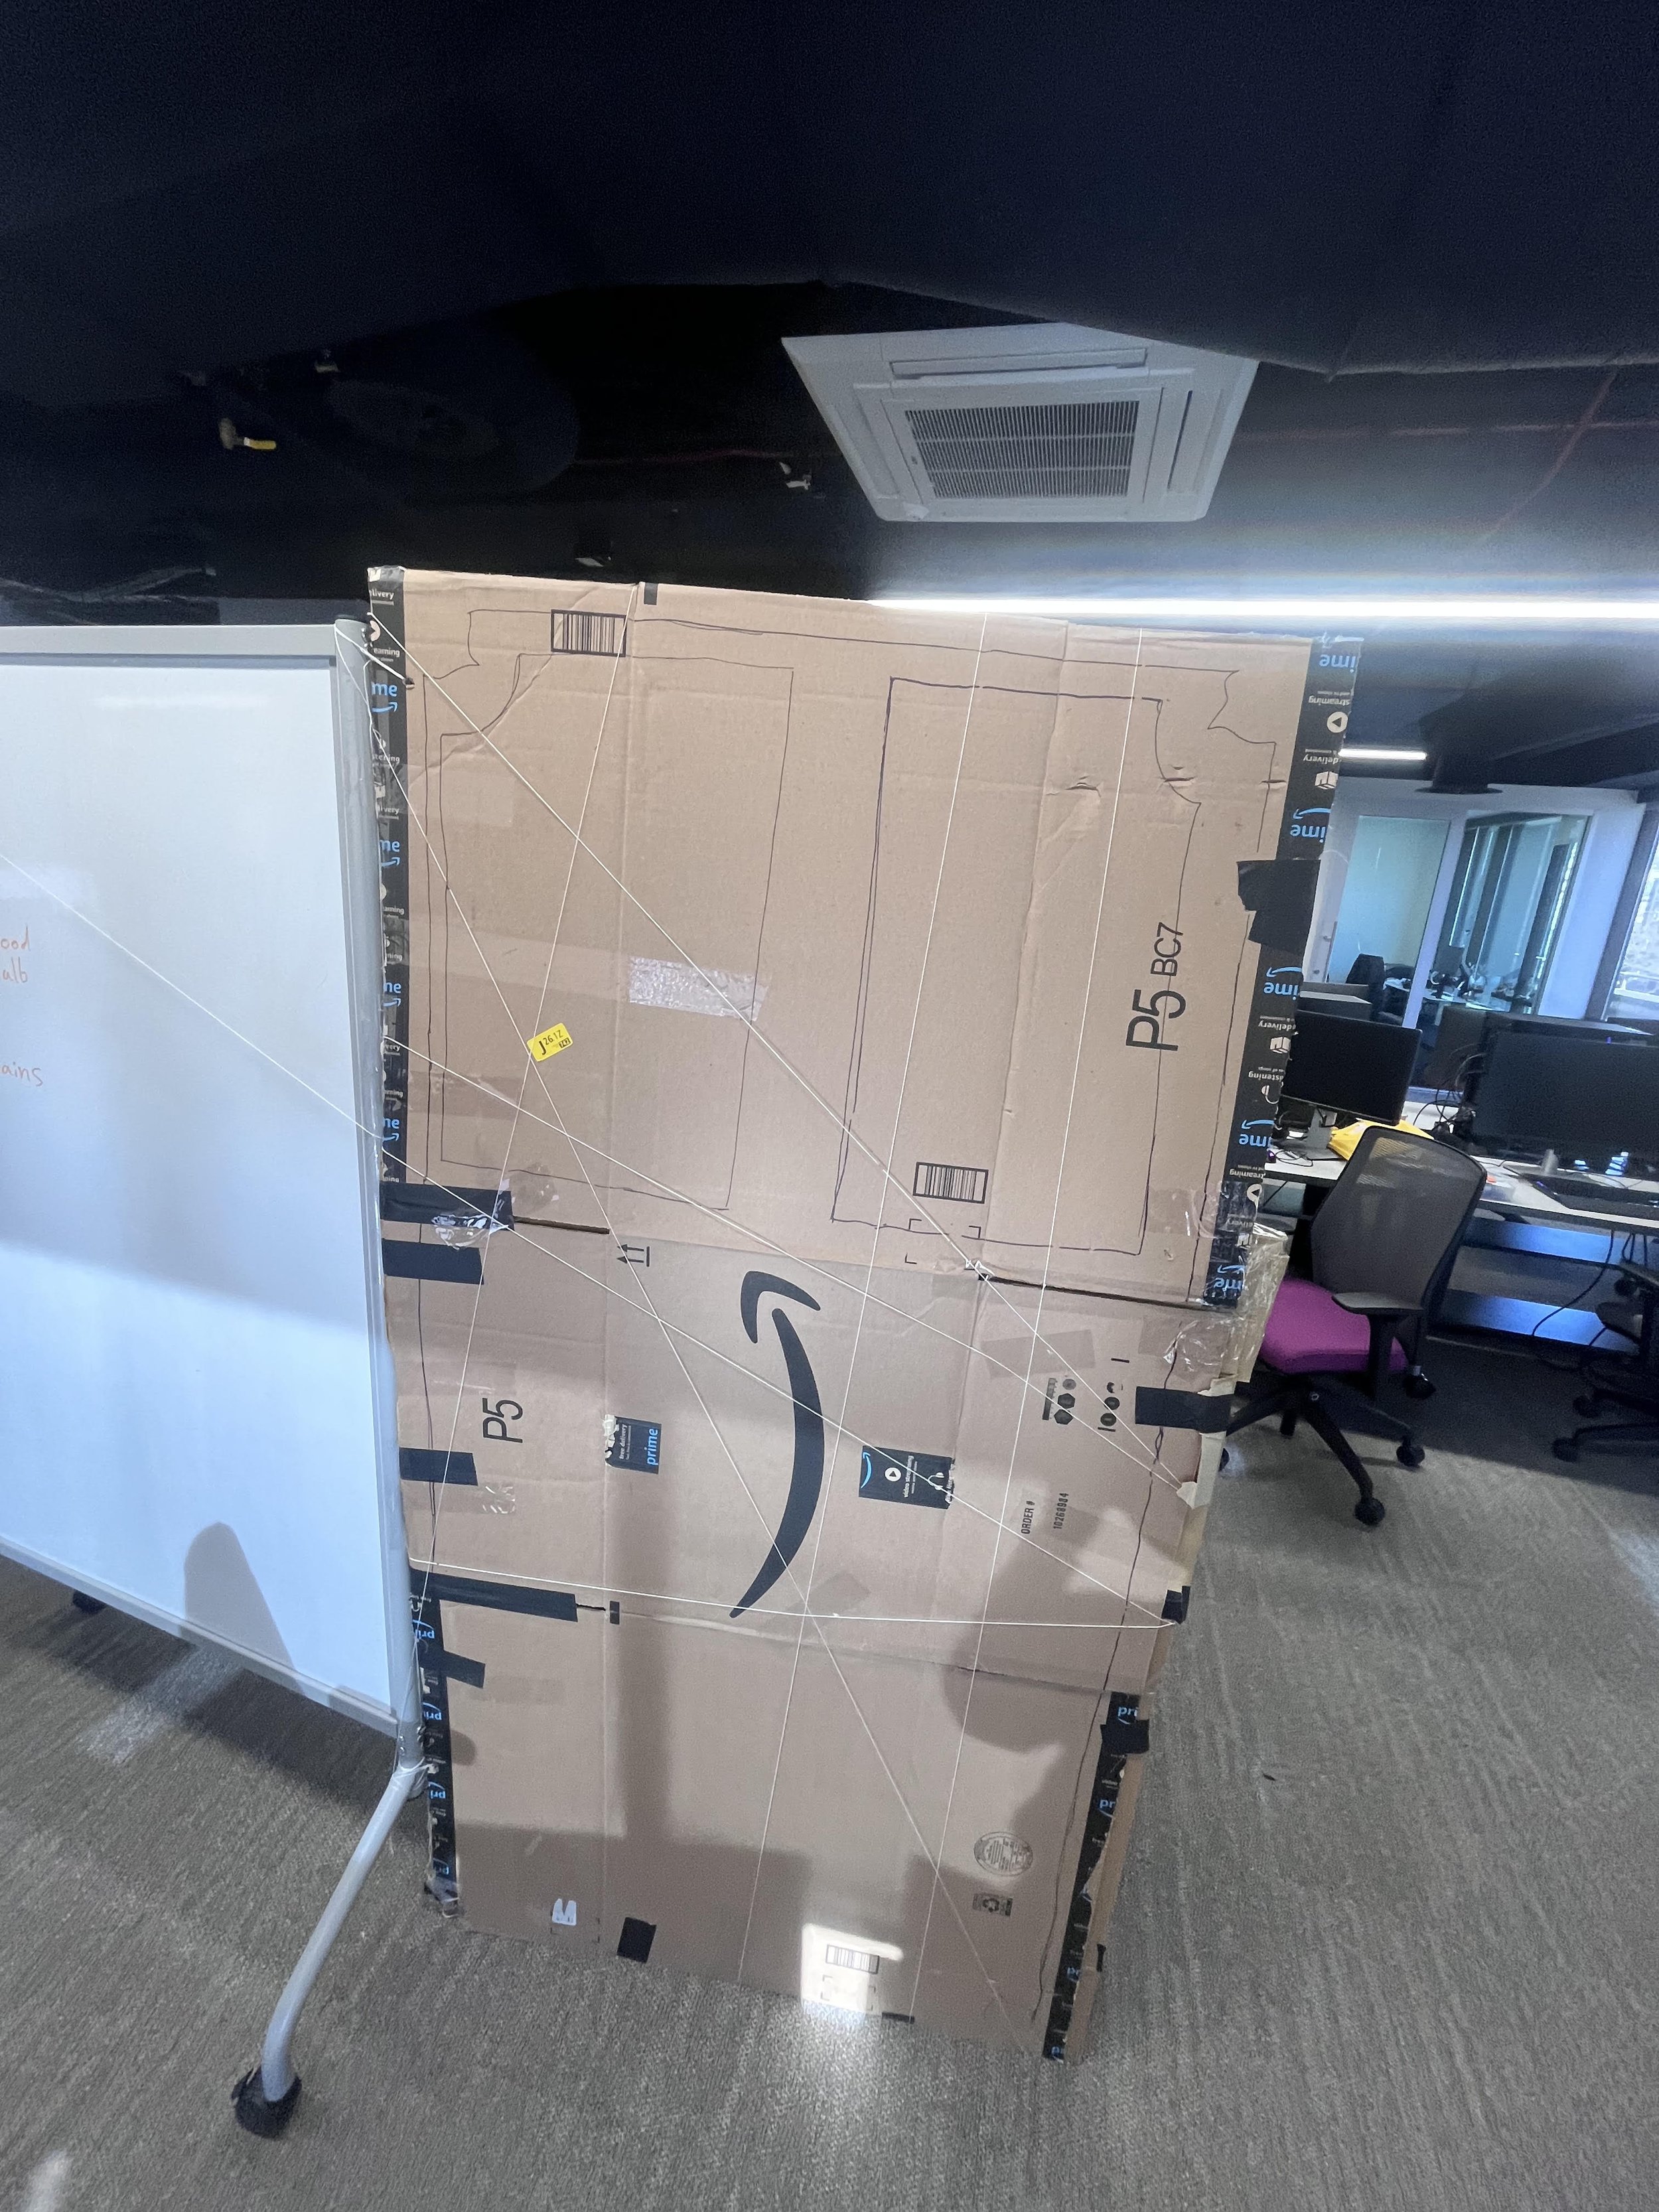
Unfortunately, this avenue turned out to be a dead end. While the rotary sensor seemed great in theory, it was overly finicky and unreliable when attached to the door itself, and could be easily offset by minor changes in the door’s rotation. The cardboard door was also incredibly difficult to test, as its flimsiness and lack of smooth rotation prevented us from smoothly swinging it open.
Prototyping Phase 2:
Unfazed by this setback, we immediately got to work on the next prototype. Instead of the rotary sensor, I tried an Arduino distance sensor, which sends out waves to detect whether an object is with range of the sensor, and tracks the distance between them. I first tested this strategy in a blank Unity project using an old notebook as my test door, ensuring we could accurately read values from the sensor all the way to the game itself.
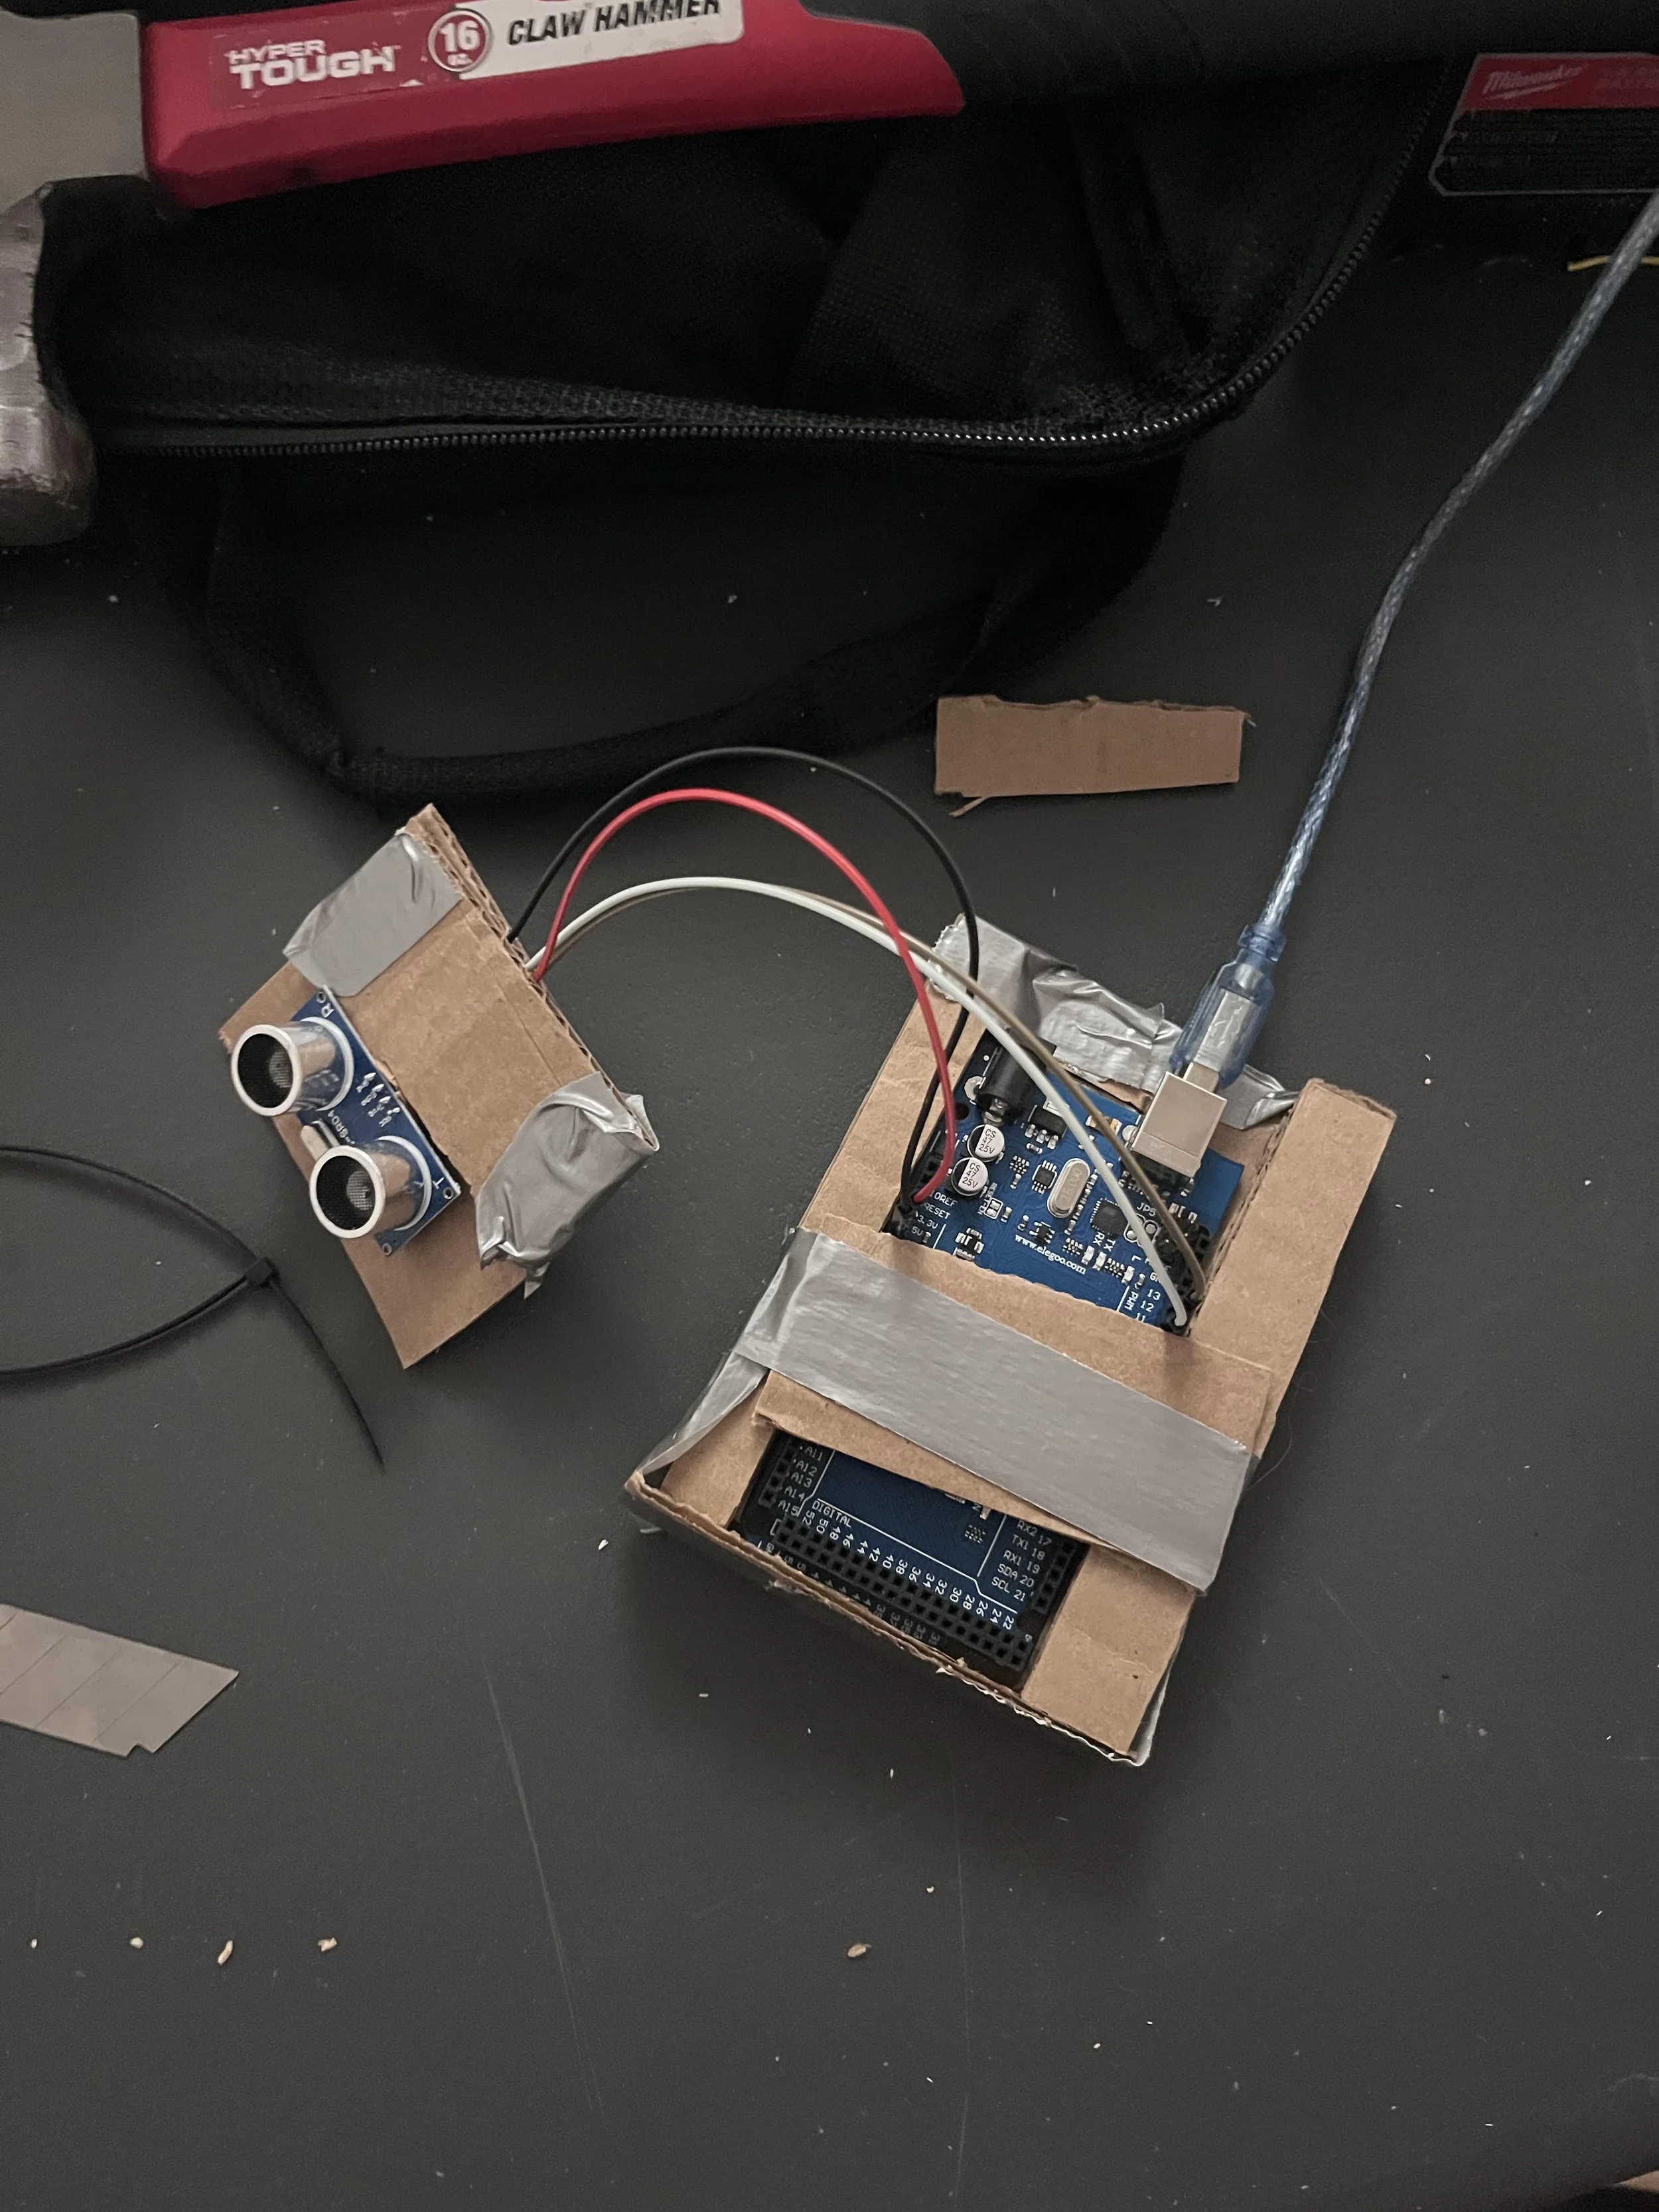
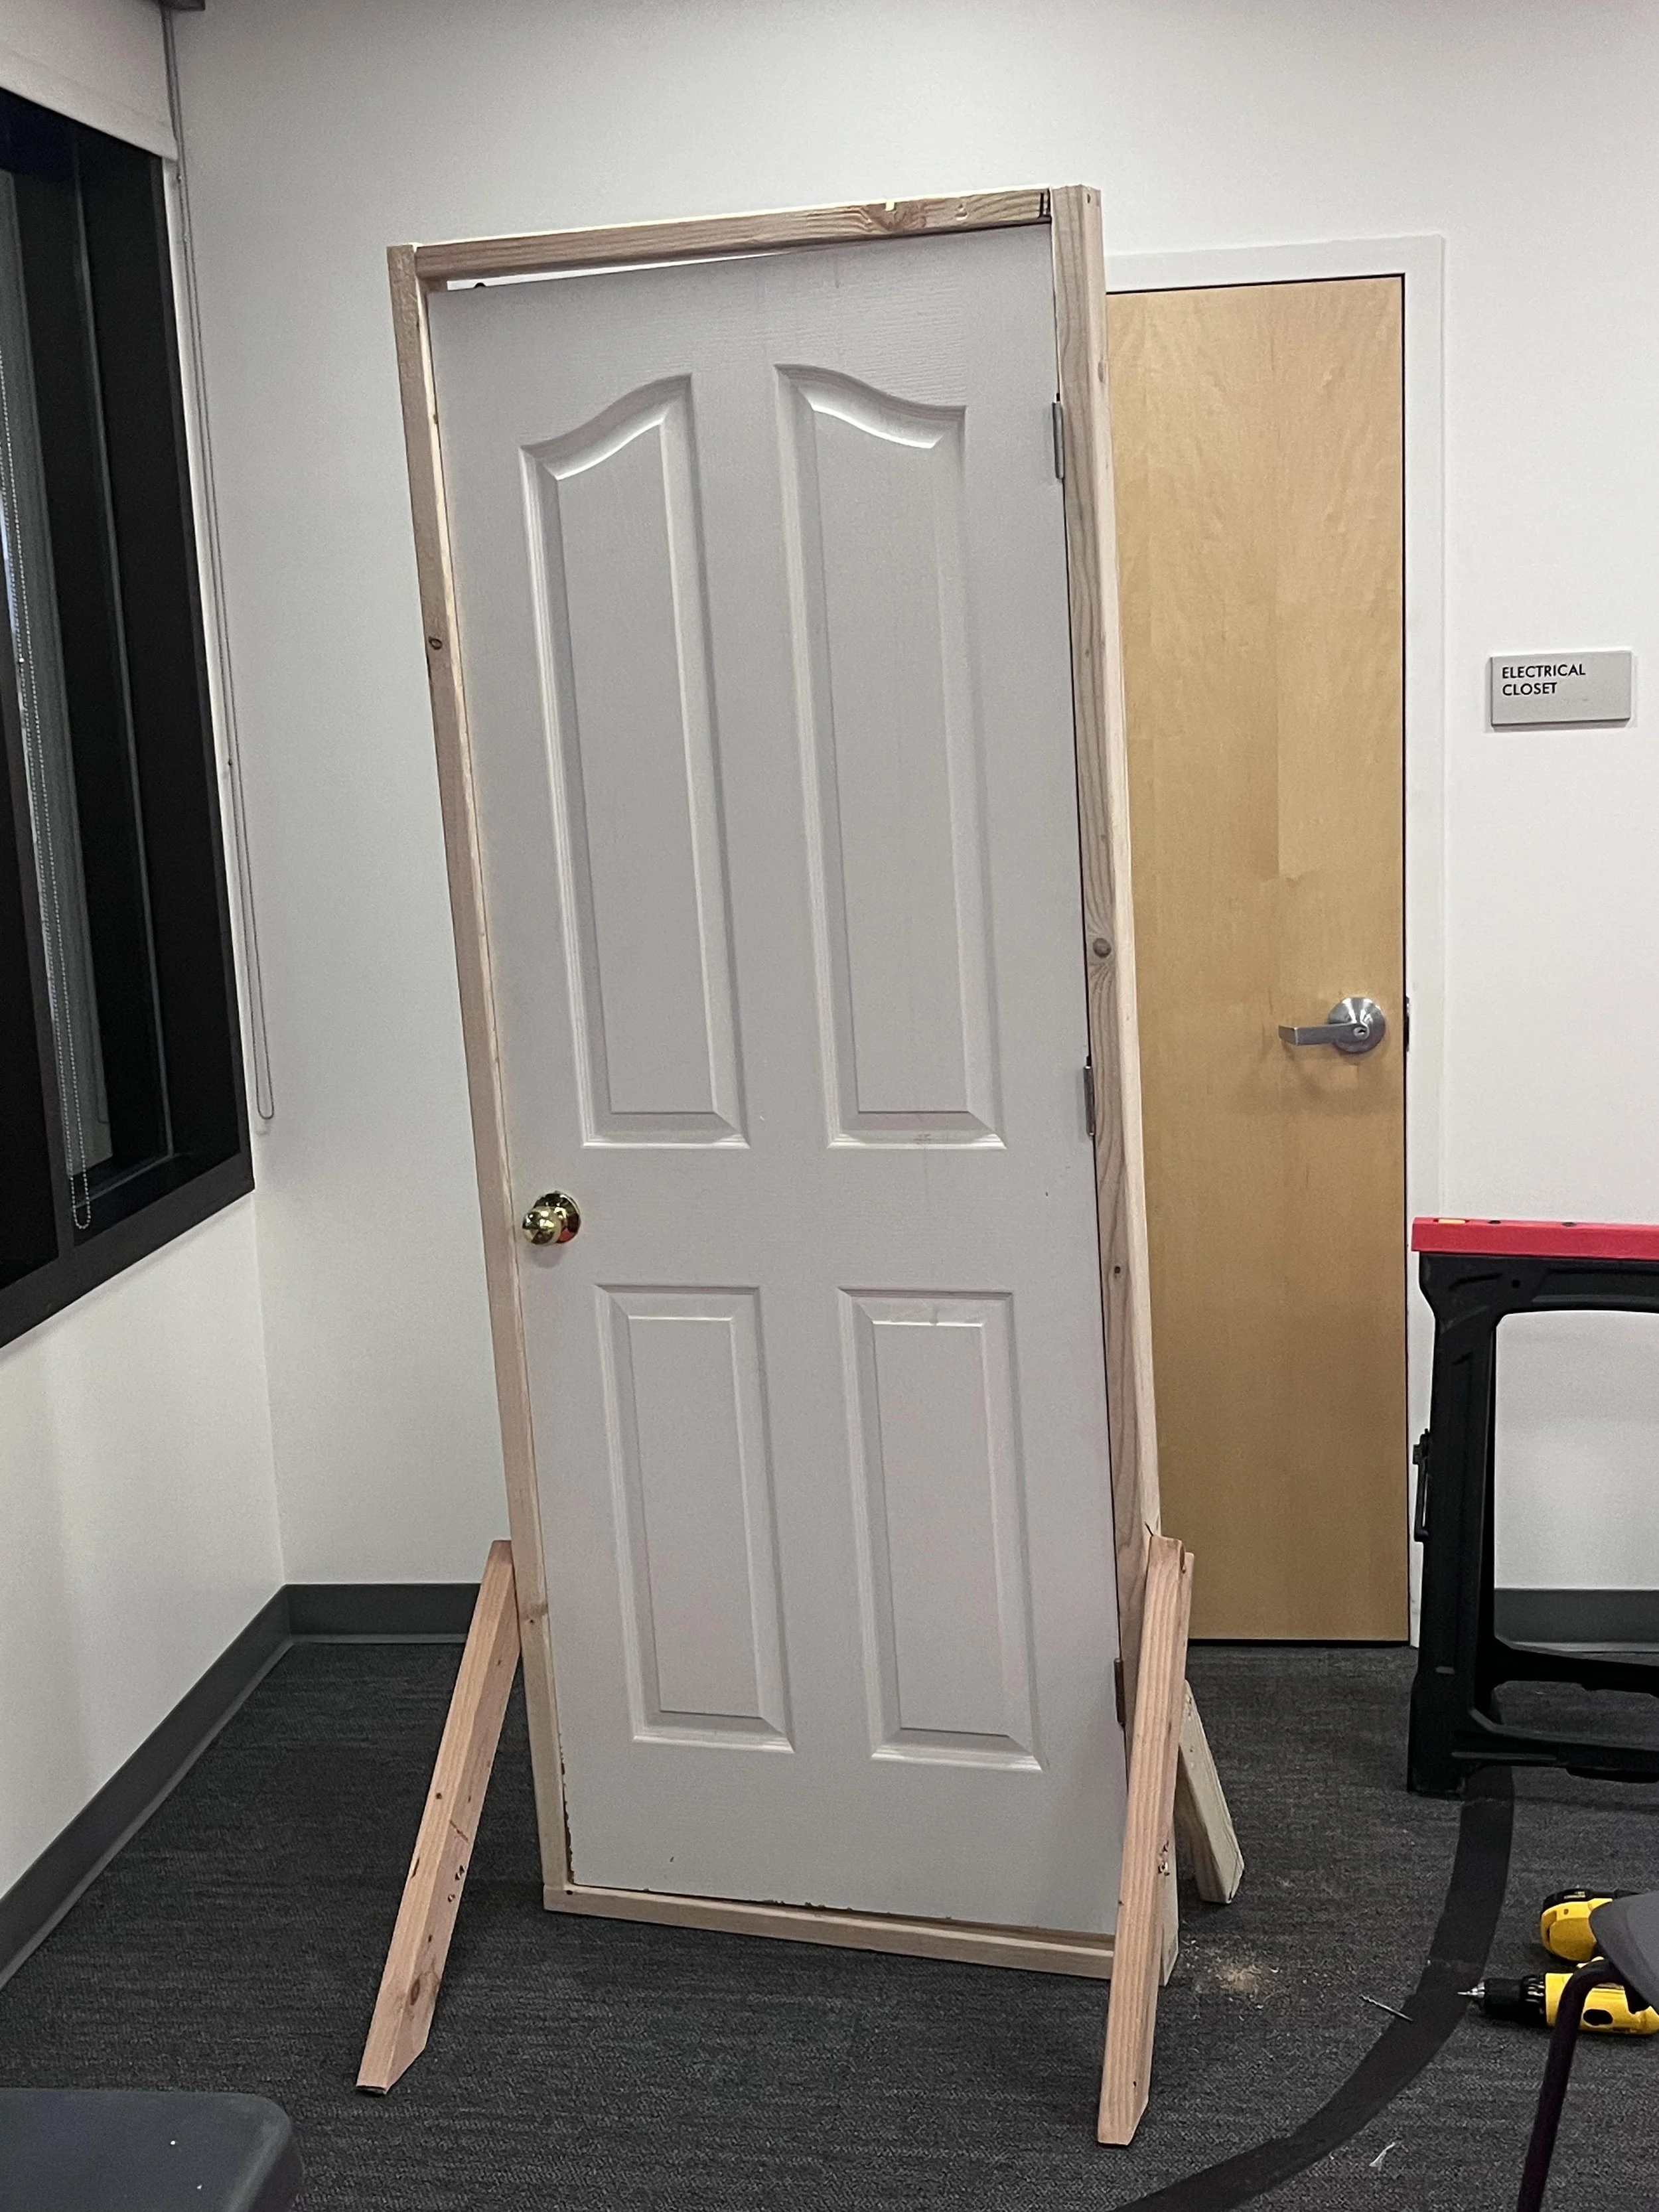
Once the sensor was proven in isolation, I sourced an old door from Facebook Marketplace, and got started on the full prototype. I used cheap 2X4’s with porch screws to create a simple doorframe. I then created a cardboard housing for the sensor, which I mounted to the top of the doorframe with duct tape. I am not an especially handy person, and could feel myself getting increasingly frustrated as my doorframe continued to fall over during testing. I was lucky enough to receive help from another member of the team with more DIY experience, as they patiently walked me through the process of bracing the door for increased stability.
Once the frame was done, I created a fresh Unity project and set up a simple ‘scary room’ with a test monster who reacts to the door being opened. Finally, I tied a mouse to a piece of string that hanged from the ceiling to act as our light switch. The clip on the left displays the first time we got door rotation values to accurately read in Unity, while the clip on the right displays the finished prototype, housed in a placeholder cardboard room.
Full Development:
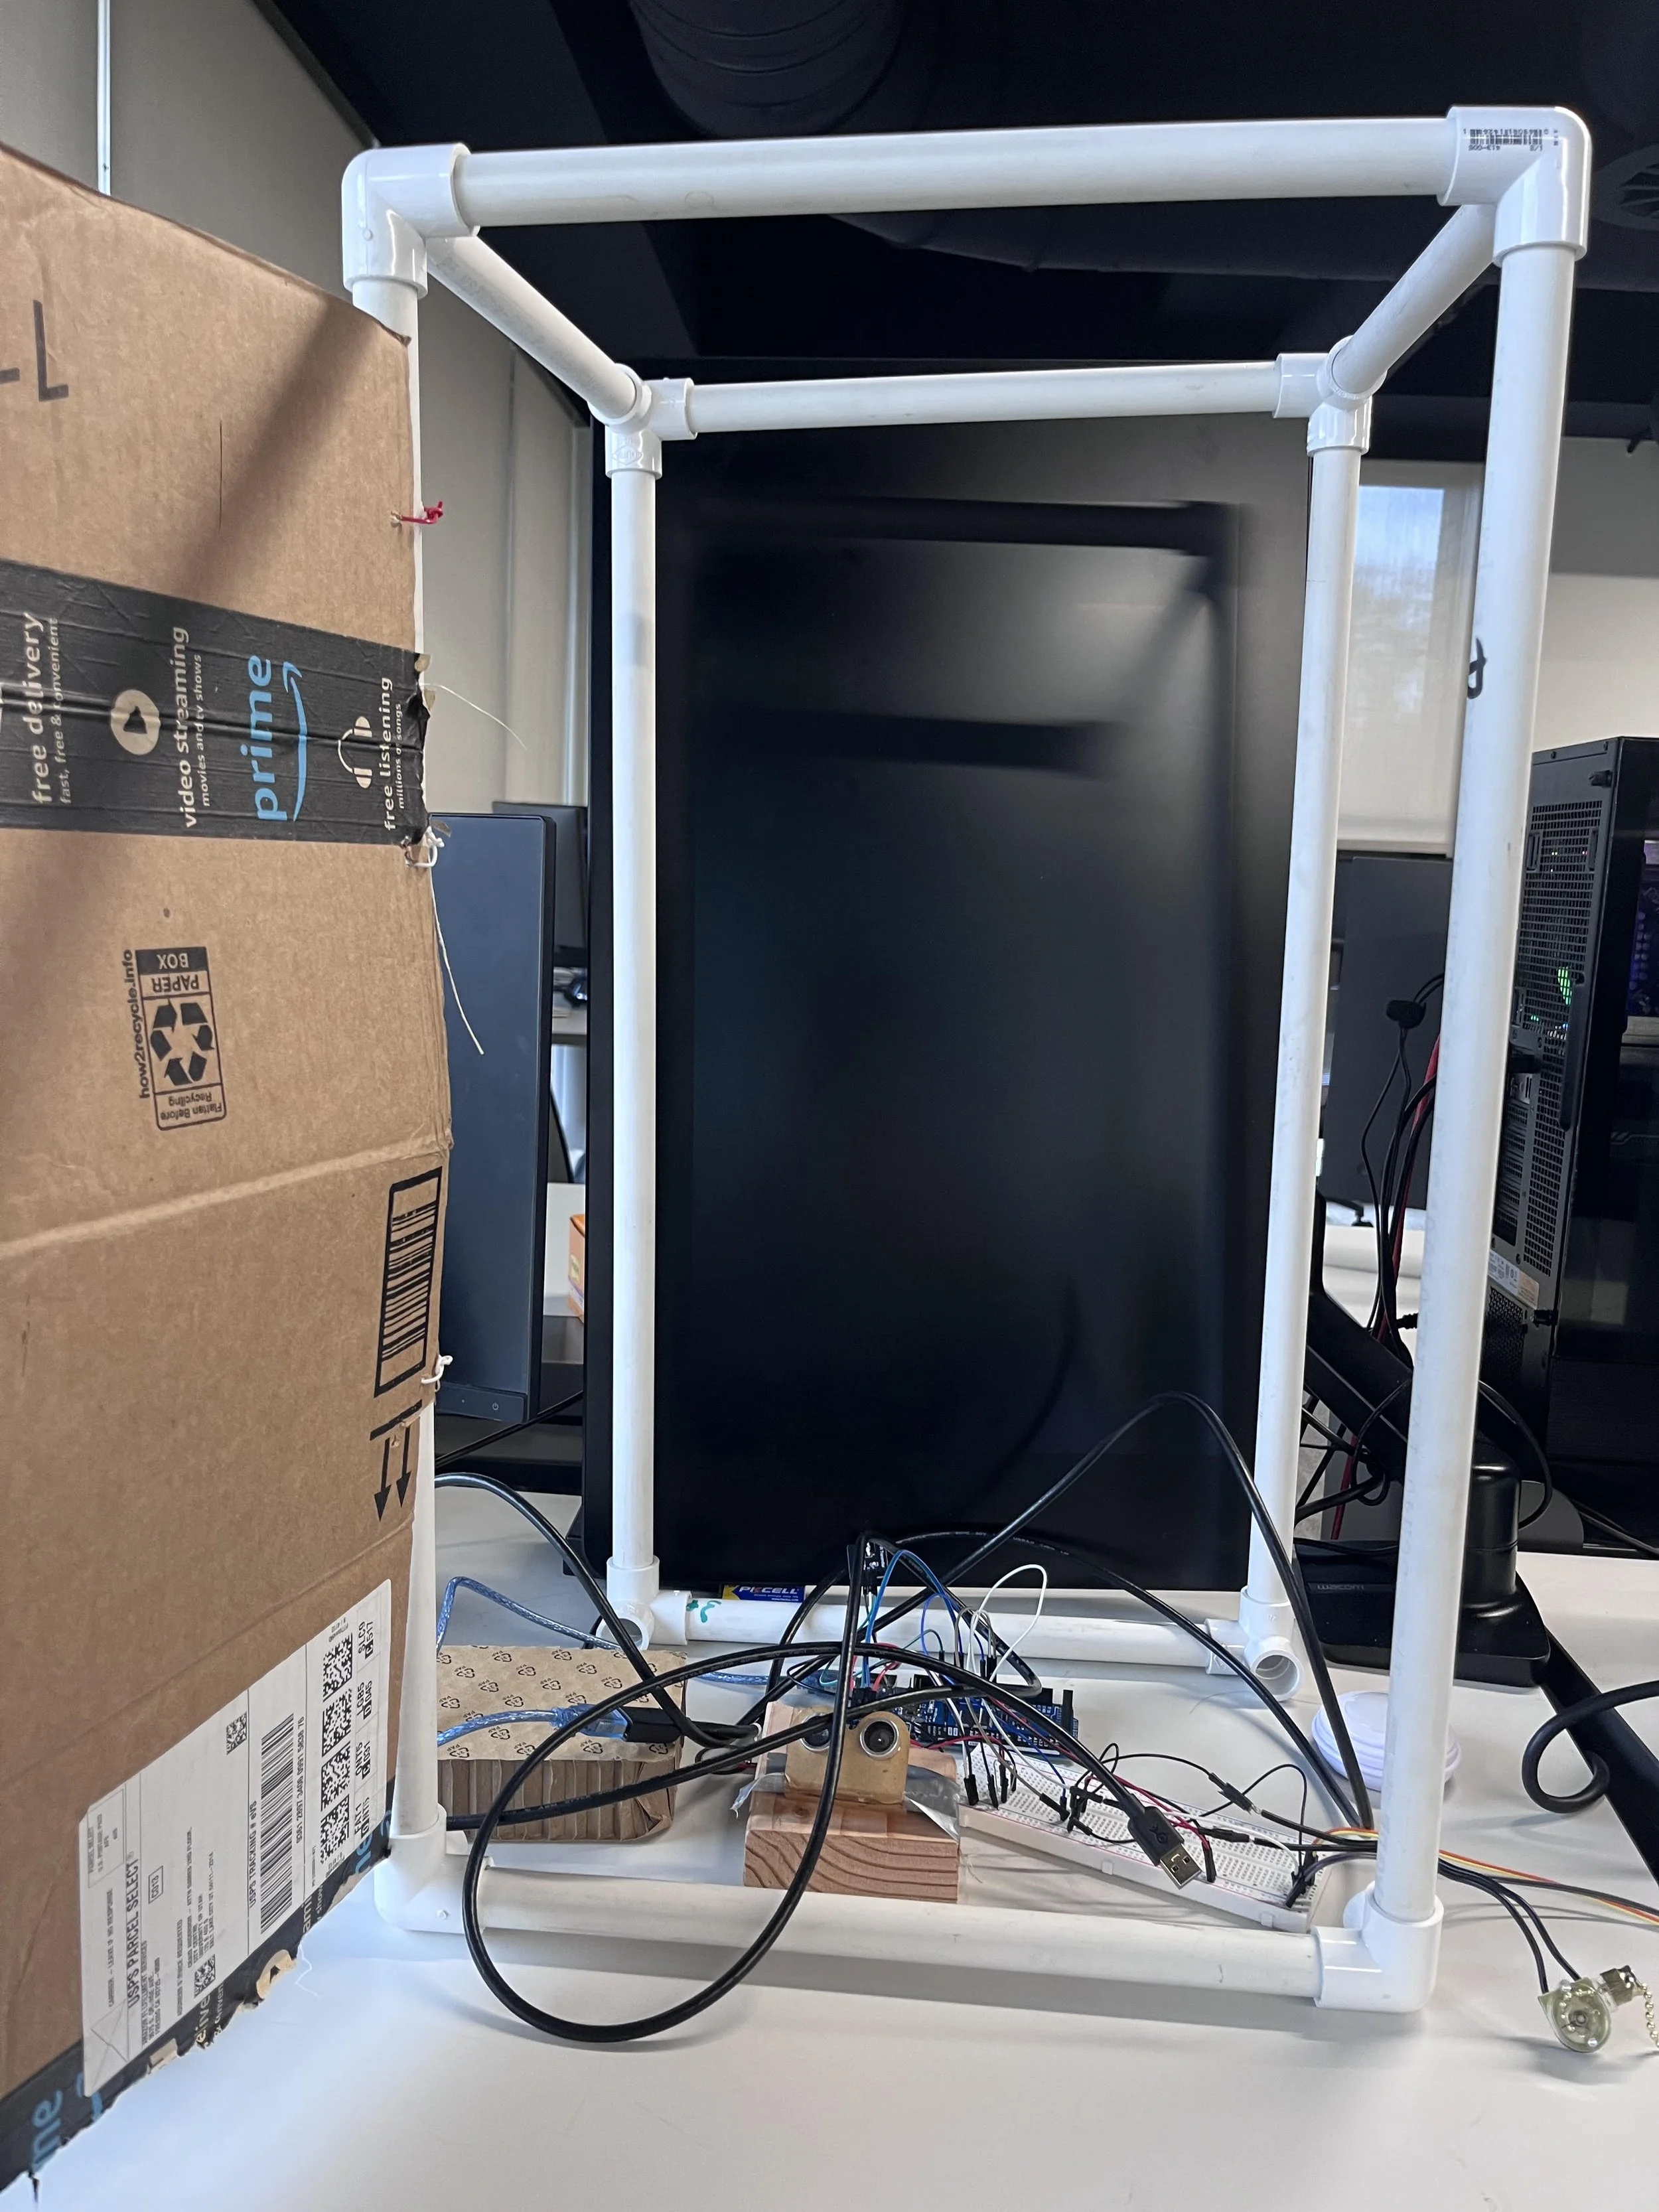
With the basic idea proven, it was time to move into full development. Team members with more construction experience than myself took over the physical building of the hallway, while I focused on programming the game within Unity and testing new mechanics. With the full-size door unavailable during this period, I created a new-and-improved cardboard prototype in 1/8th scale. The below image showcase this prototype secured in a pipe housing, while the video displays a screen-recorded gameplay update.
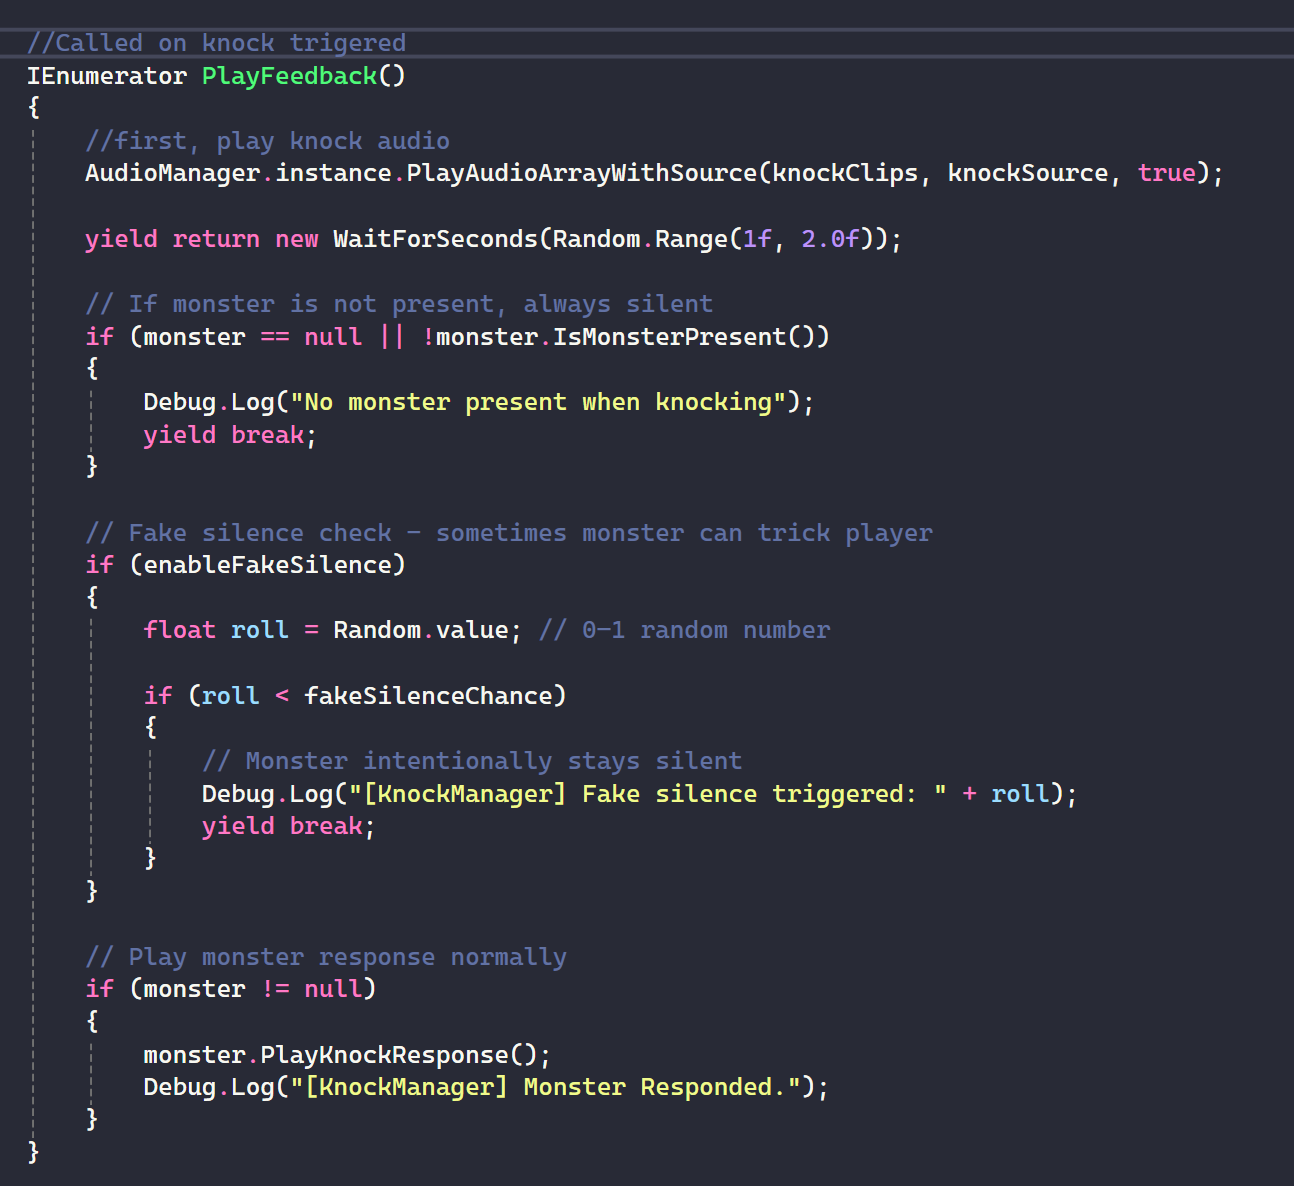
Hinges was a big challenge to design, as its central premise required the game’s screen to be hidden behind a door during large portions of gameplay. The game felt confusing and frustrating in this state, especially for our target audience of non-gaming festival attendees. Additionally, our team was worried that the game was too simple, and should have additional interactions for players. This led me to test a ‘knocking’ system, with which players could knock on the door to check for monsters inside a room by waiting for a response. This killed several birds with one stone, as it allowed players to better understand the state of the game without screens, while also increasing the intuitive affordances of our central controller. A hardware engineer on our team handled the Arduino code and wiring, while I wrote the script for reading the knocking input in Unity. The below video showcases the first prototype of the knocking mechanic and the image displays a snippet of the knocking input code in Unity.
Initial Prototyping:
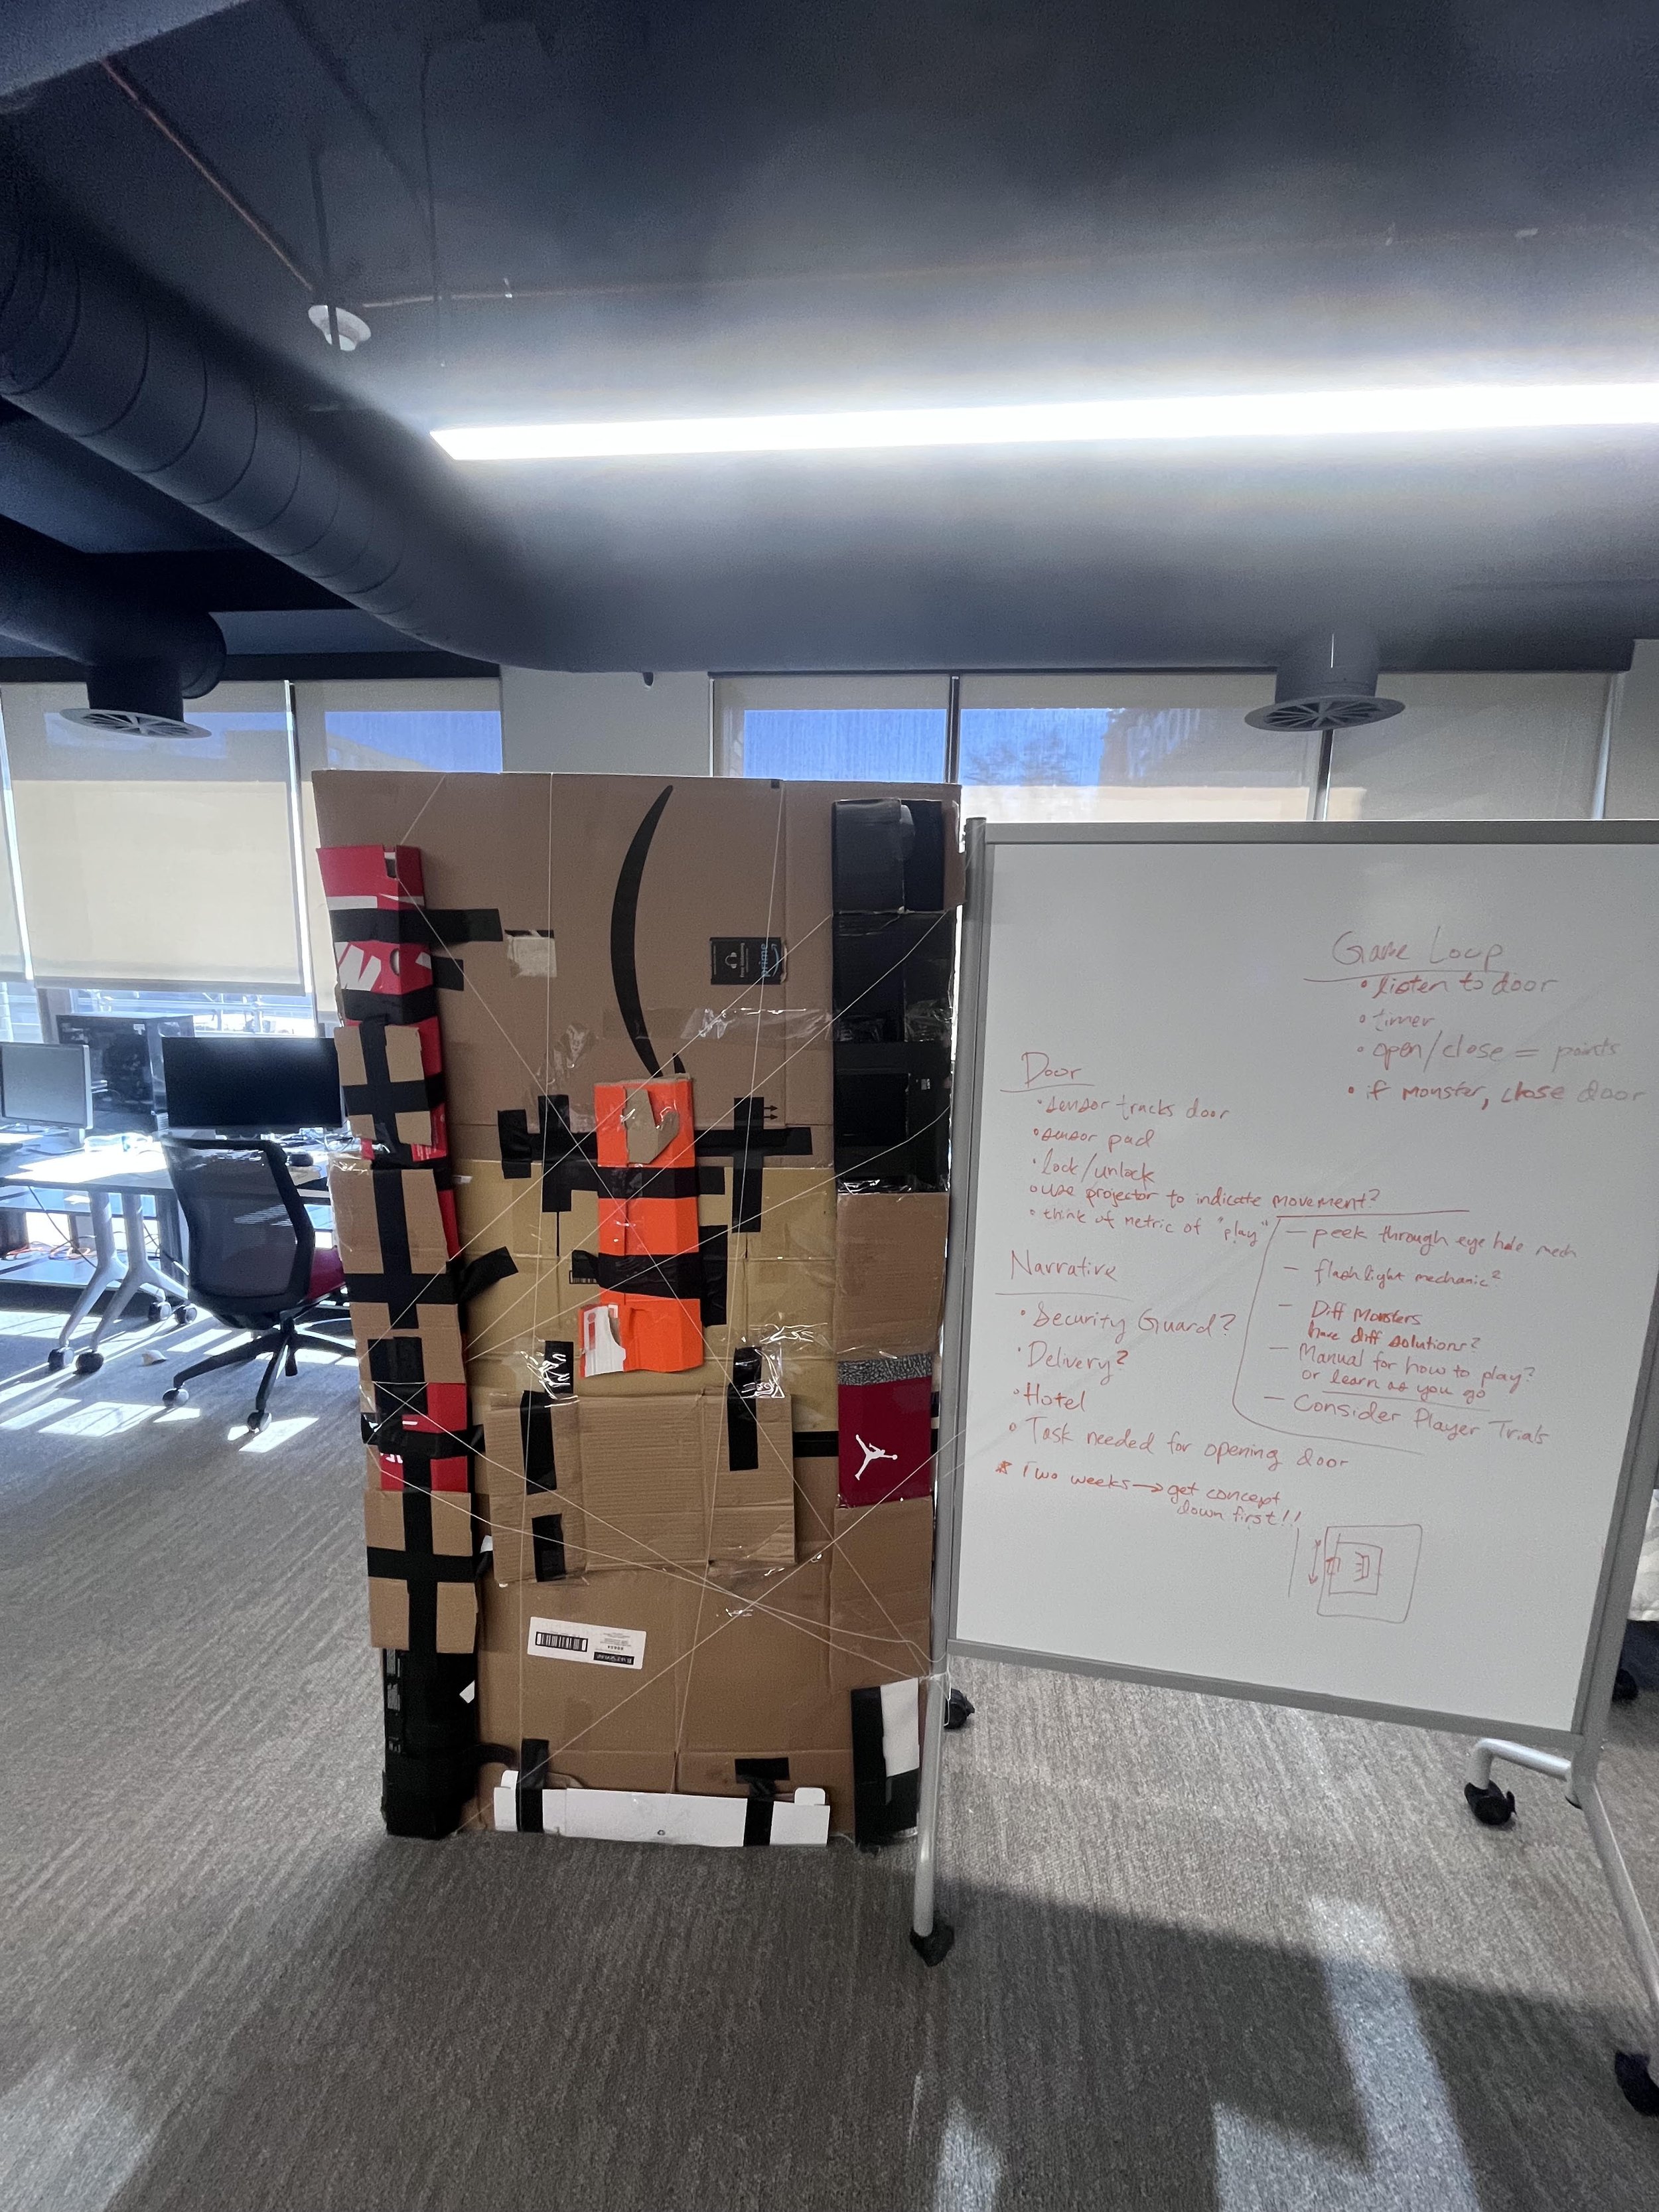
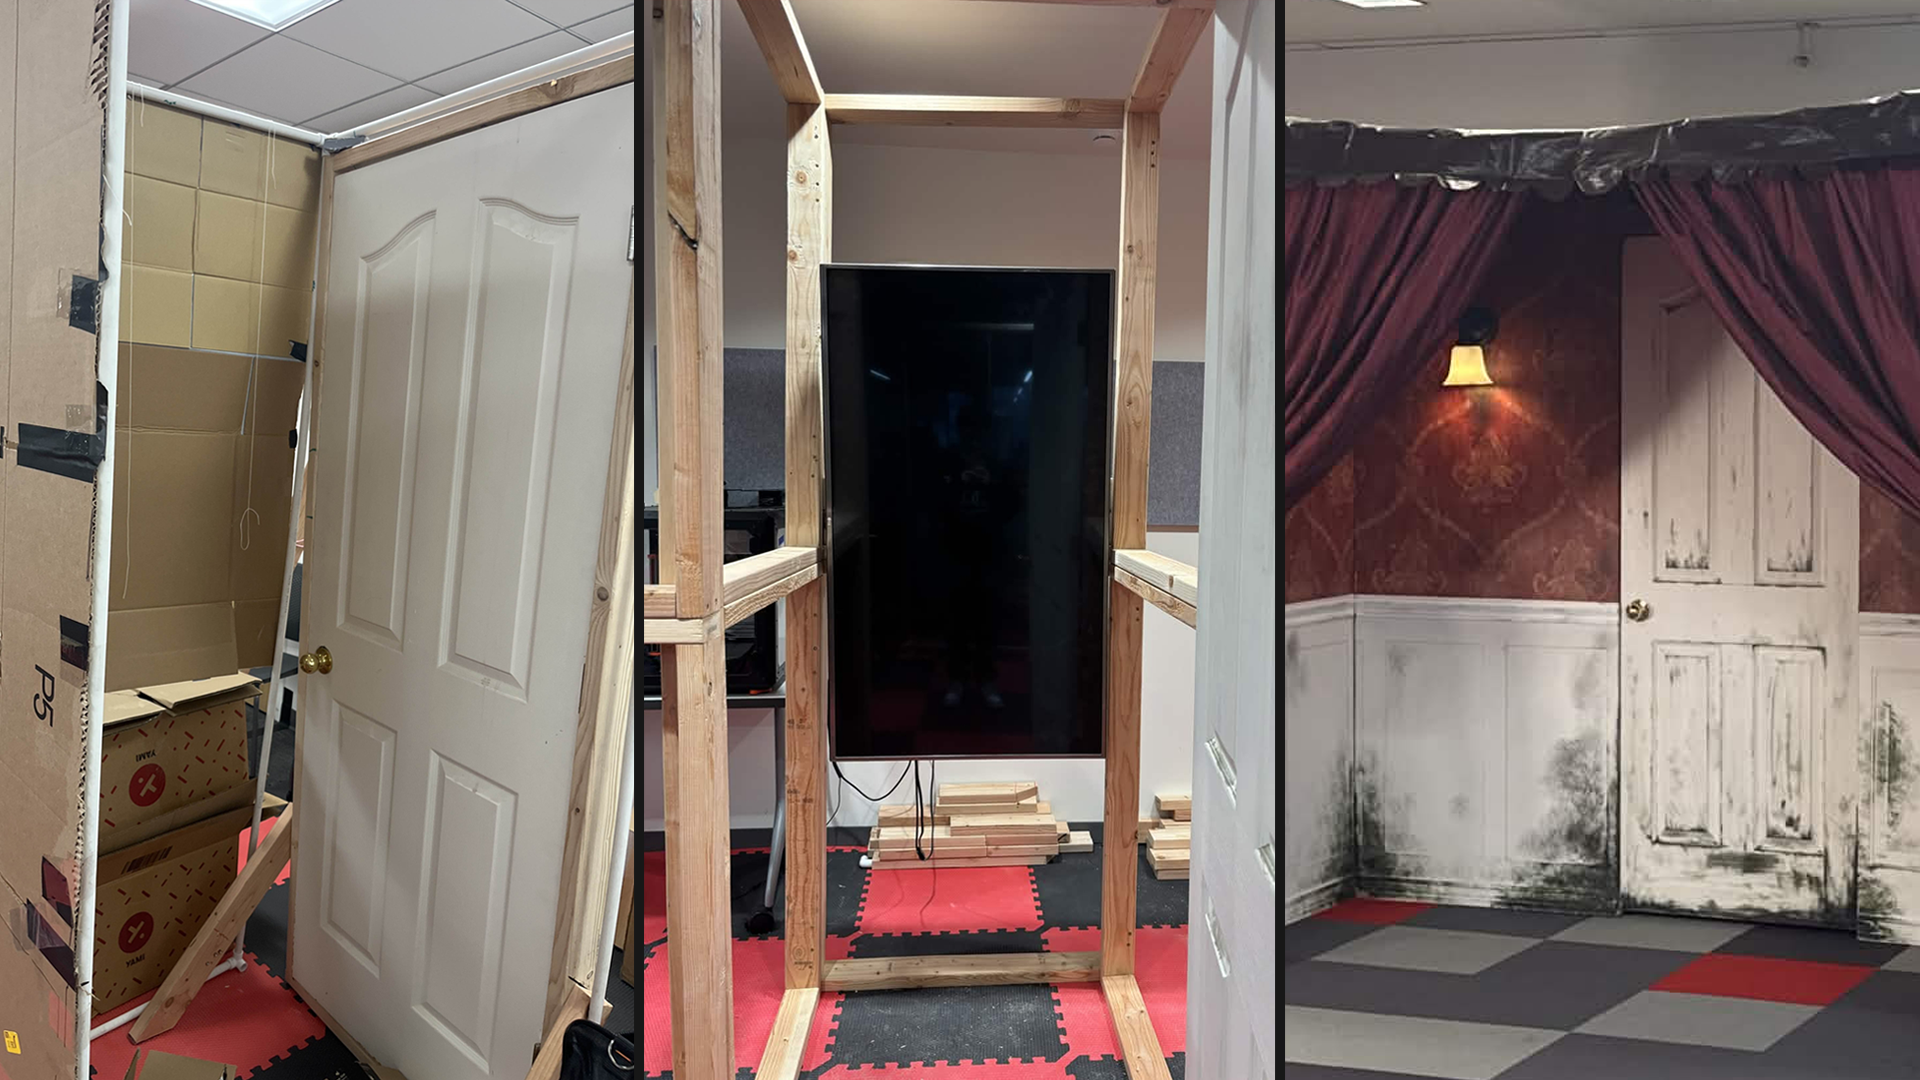
I am a strong believer in the strength of early prototyping and constant iteration, and we started planning our first build of Hinges immediately after settling on the pitch. A hardware engineer on our team designed a simple control scheme that uses an Arduino rotary sensor, mounted to the bottom of the door frame, to detect whether the door is opened or closed based on its rotation. We first tested this by creating a fake door from cardboard boxes, tied with string to a whiteboard to act as the hinge. The below images display both the door during this early setup phase.
Wrapping Up:
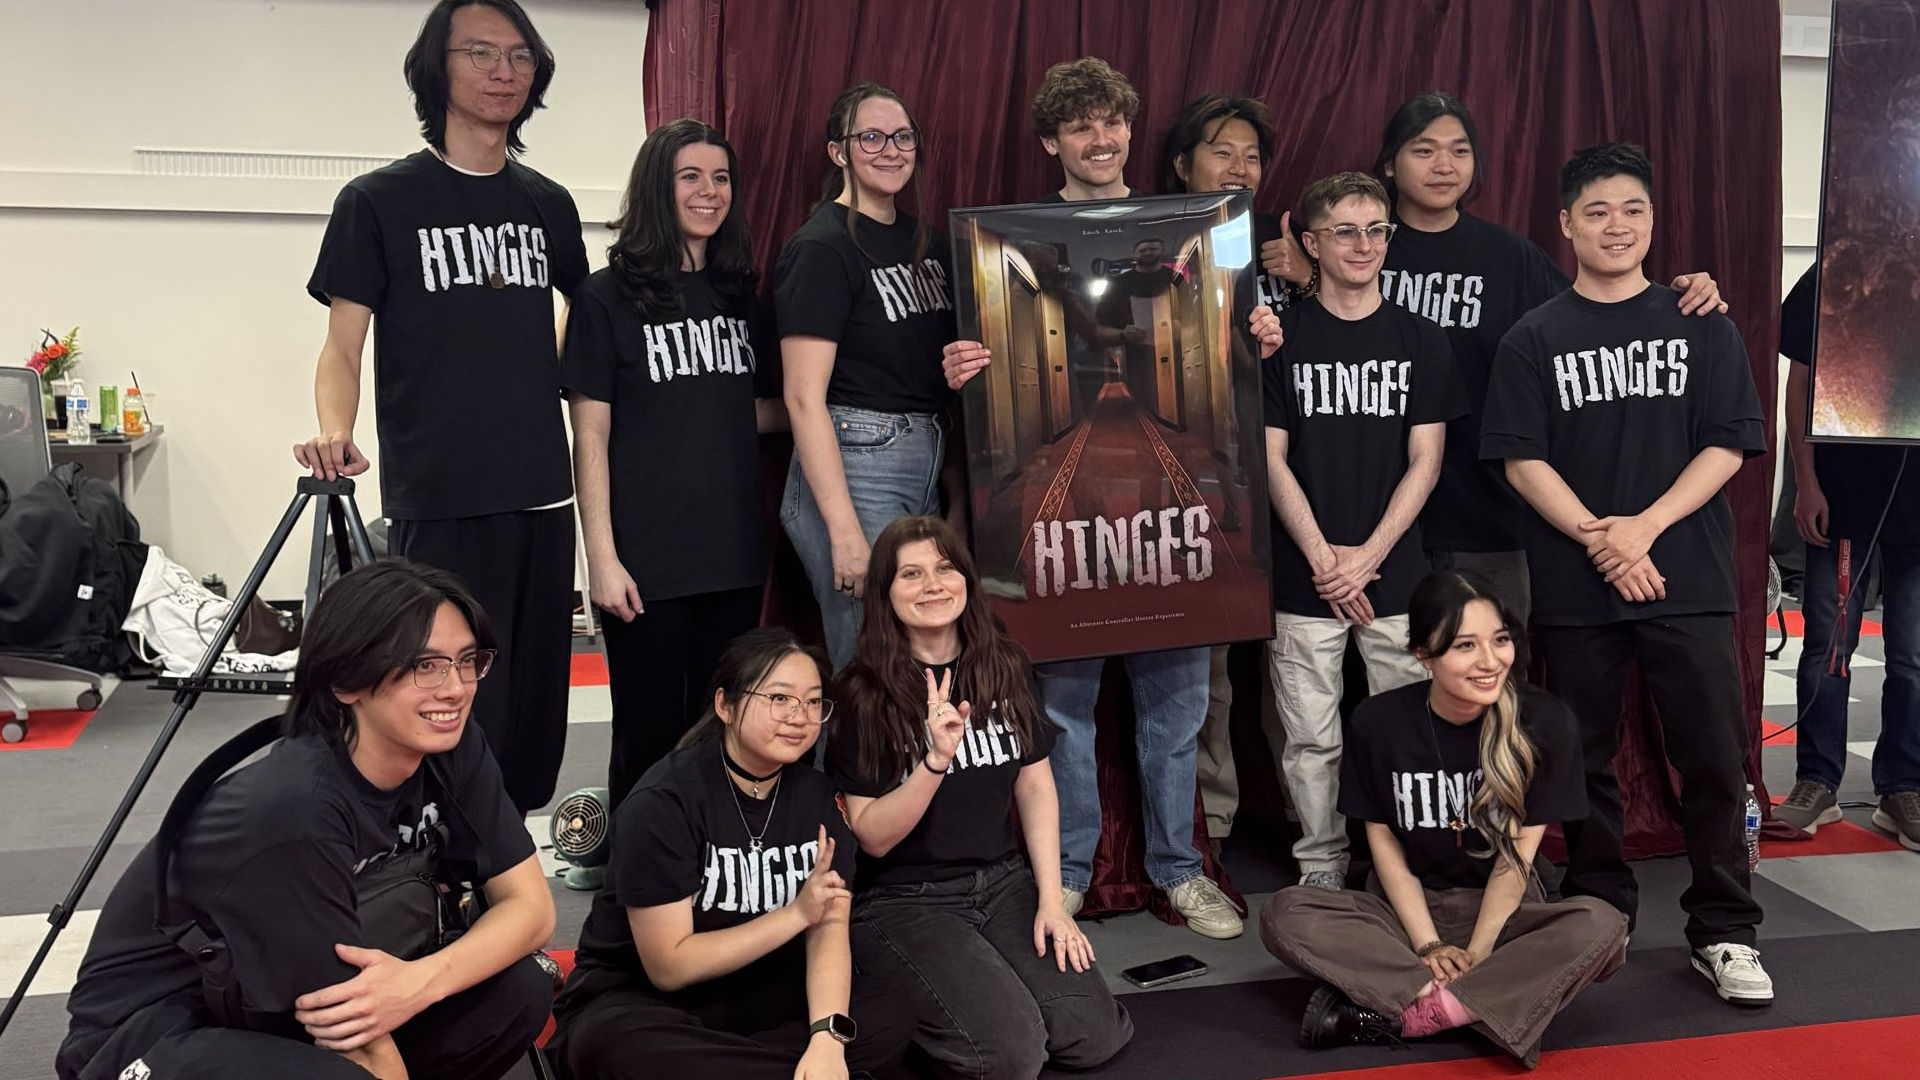
As always, it takes a village to make a great game, and I am incredibly thankful to have had such a hardworking and fun team for this project. Any success we had with Hinges is due to their diverse skillset, consistently positive attitude, and willingness to try strange new things. Hinges is not a perfect game by any stretch - the gameplay loop is still a tad confusing to new players, the hardware sensors are frustratingly unreliable, and we could have used an additional pressure to stop players from cheesing the door through constant open-and-shutting tactics. But I consider the game a success in that we experimented with an entirely new form of play. Watching kids scream and beg their parents to play again at festivals, seeing peers jump in the air during jumpscares, and hearing friends howl in laughter when they slam the door was a humbling pleasure that I will not forget soon. We make games with people and for people - it’s important we don’t forget that.
Platform: PC
Engine: Unity
Production Time: 12 Weeks
Size of Team: 12
Roles: Systems Designer, Gameplay Engineer
Awards: Finalist for the ‘New Voices’ and ‘Radical Play’ awards at the Indie Mtn West Festival. Invited to demonsrate at Utah Games Launch and Neumont Games showcase.
Designing the Core Loop:
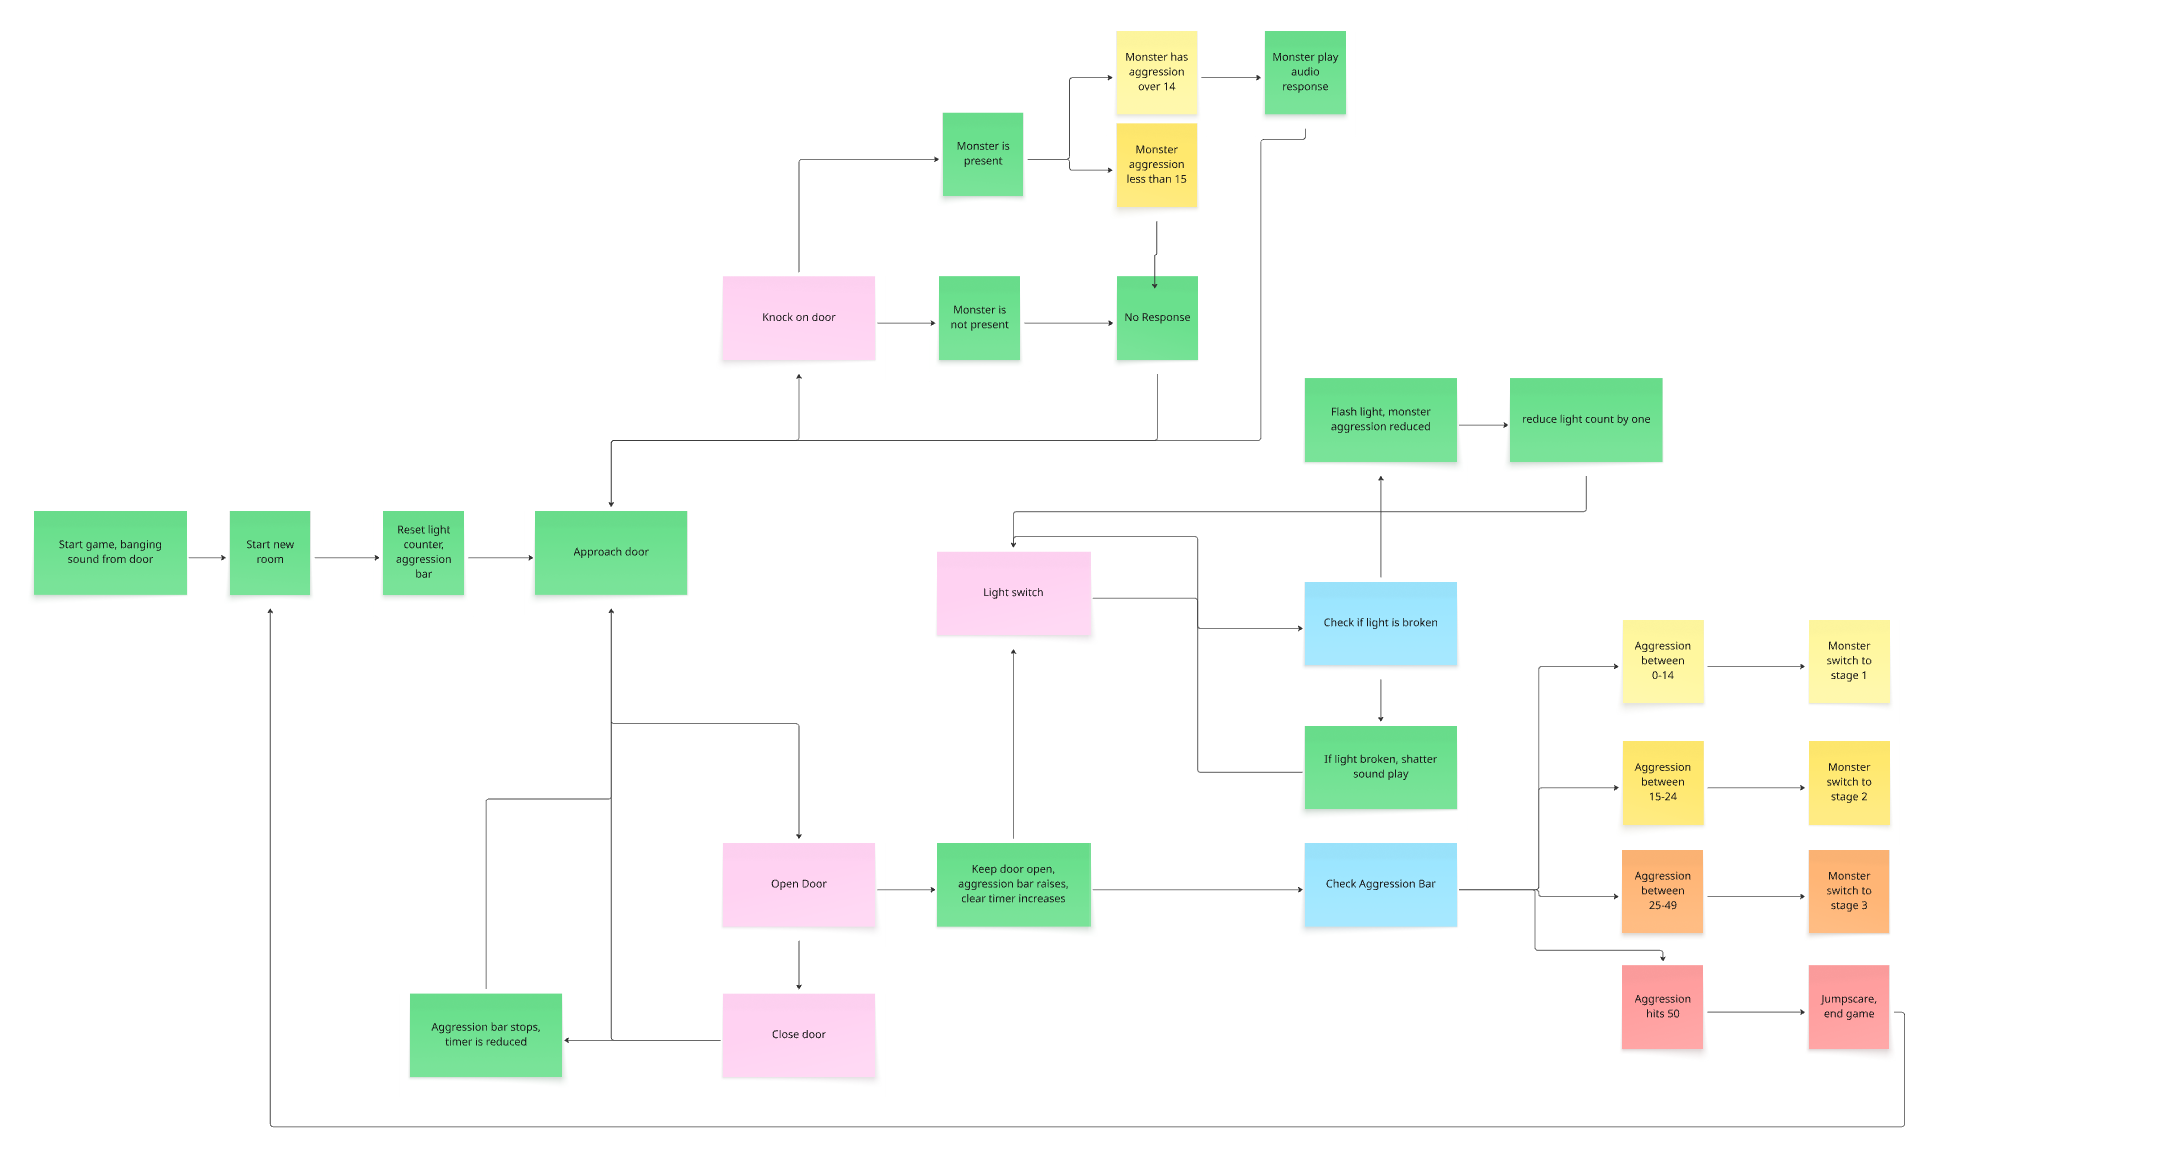
When designing the core game loop, I remained focused on our game’s pillars: short, fast, jumpscare-oriented fun for non-gamers. In order to clear a room, players must keep the door open for a cumulative number of seconds (around 20). However, each monster has an aggression value that is steadily increased as long as the door is opened. As this value climbs, the monster gets closer to the door and grows louder. If this aggression value is maxed out, they initiate a jumpscare, and the game resets. Monster aggression can be quickly lowered by pulling the lightswitch, but this switch has a limited number of pulls per room, encouraging thoughtful timing and risky moments spent sitting in the dark. Players can slam the door to protect themselves as a last-ditch effort, but the cumulative room clear timer will slowly lower as the door is closed, encouraging them to quickly open it once again. The below image displays a graph of the game loop that I created midway through development using Miro.
Developing Designer-Friendly Systems:
After designing the core game loop, I worked with the other game programmers on our team to smoothly implement each aspect of this loop in-engine. I was responsible for developing the systems which govern room-loading, monster controls, and speed/difficulty of monster encounters. I challenged myself to not only develop efficient and functional systems, but designer-friendly and easy-to-learn systems that could be approachable to anybody on the team. Check out the below video and voiceover for detailed information on my designer controls for altering monster behavior in the inspector.
Design Iterations:
While the game was improving, playtesting revealed that the game loop was still quite confusing to non-gamers. I spent the next several weeks of development time testing methods for communicating to players without the use of screens.
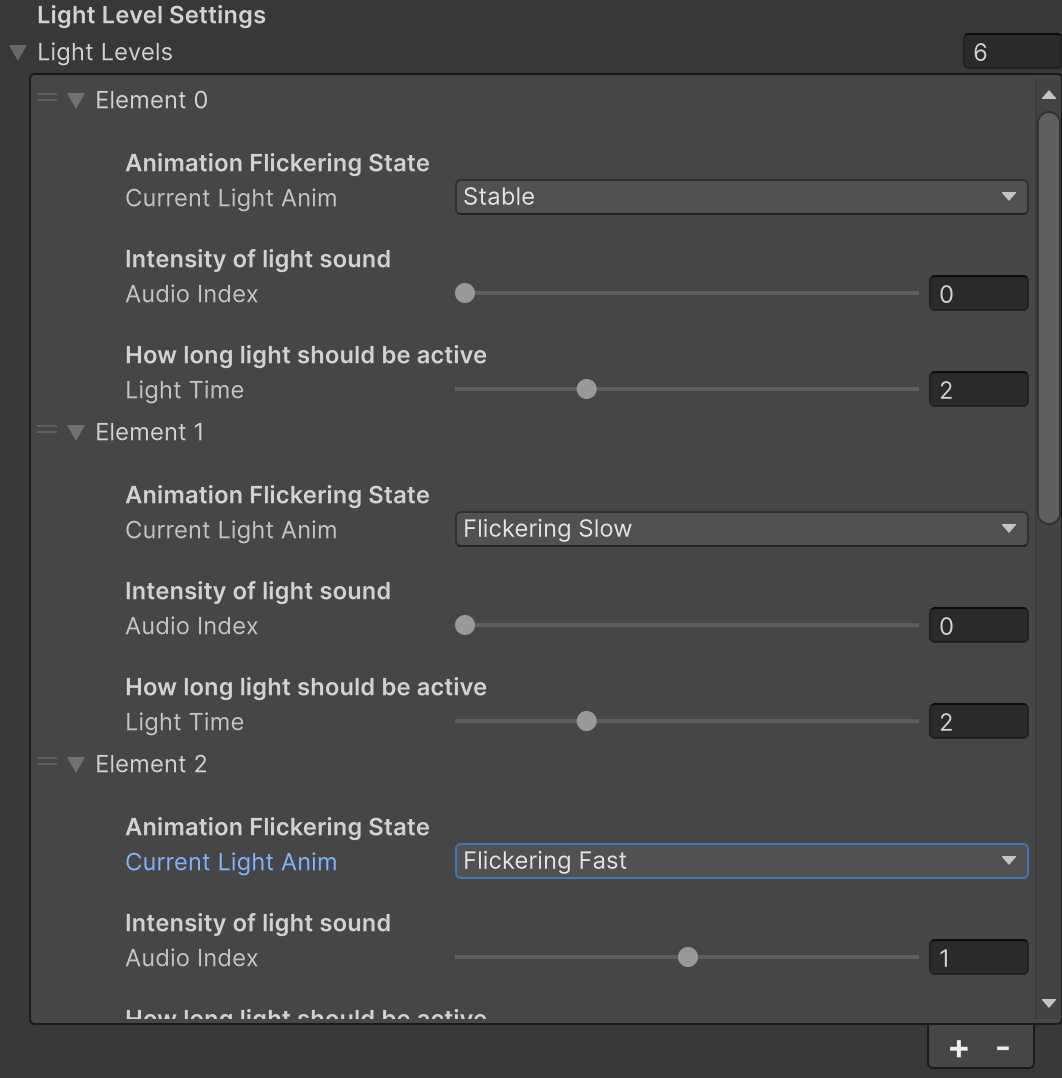
One addition I made was a new light switch system. Previously, players were not able to tell how many light pulls they had left per-room, and were left frustrated when their lightbulb shattered. I solved this by creating a new system which lets designers determine the look, sound, and length of each light pull with custom flickering animations and differently pitched audio clips. This allowed us to quickly tweak each light pull until players were able to intuit their number of pulls left, based on the light’s reaction when pulled.
The image below displays a snippet of the designer controls for the light switch, while the video showcases these different light pulls in-engine
Character Animation:
In addition to my design and programming work, I contributed to the character animations for the game’s monster enemies. I created game-ready animations for 4 monsters, each including 3 idle clips of increasing intensity and a jumpscare clip. While I worked on 4 monsters in total (2 in Blender and 2 in Unity), only 2 were included in the final game due to scope constraints (those darn scope constraints!). For more information on my rigging and animation work, please click here.