Custom Game Engine Devlog Week 6
Estimated Time Spent: 8 hours
Accomplishments:
Replaced hard-coded mesh initialization data with an extensible file-based approach.
Created a custom lua file format for mesh assets.
Wrote a C++ script to parse lua tables and extract relevant data
Used command line arguments to set up a debugging process for mesh building tools.
The house was pink last week, now it’s green! What does it mean…
Abstracting Mesh Initialization:
The main goal of this week was to take the ugly process immediately below, in which an object’s vertices are hard-coded before being initialized, and turn it into the simple exercise beneath it , where the user only needs to specify a file path to the desired mesh data. The same data needs to be delcared and stored, but by abstracting it behind a custom file type, I can make the experience for my end users (gameplay programmers) much simpler.
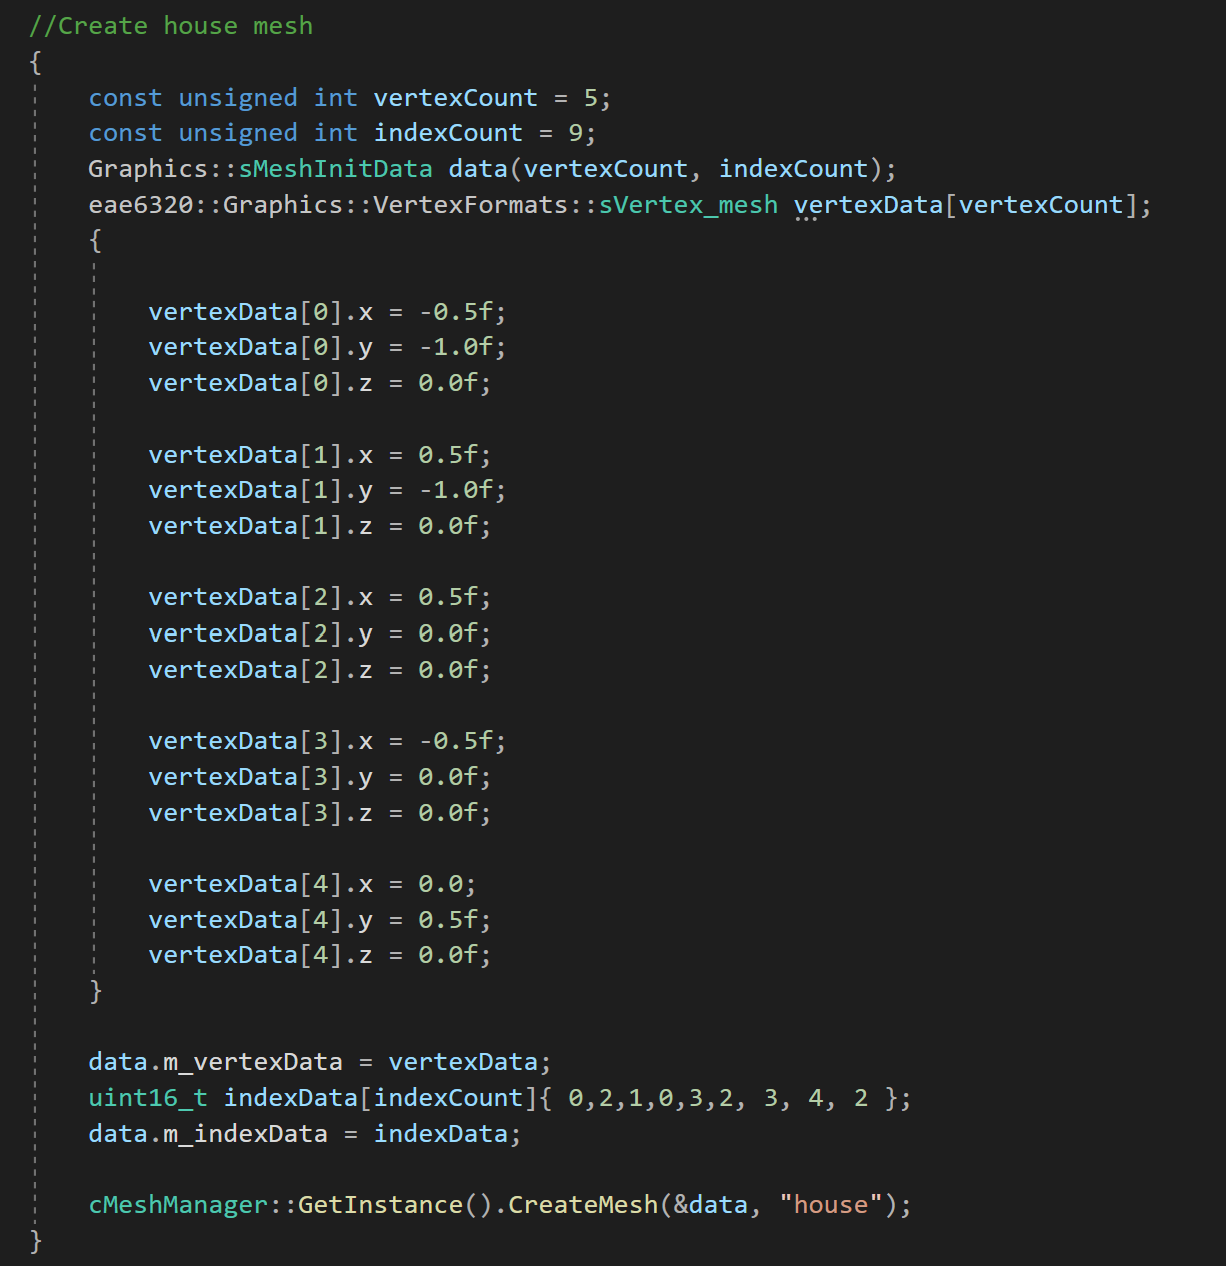
Old mesh data initialization in myGame.cp

New mesh data initialization in myGame.cp
The cGameObject declaration, with the accompany declaration of mesh/effect structs.
I knew that in order to store my assets, I would want to use a lightweight scripting langauge that could be parsed by C++. I chose Lua for two primary reasons:
Lua is very human-readable, which matters alot for creating assets! Users should be able to open a mesh asset file and easily edit its content, such as altering a material parameter or fixing a winding order bug.
Lua is extremely flexible, allowing custom formats to be easily used and parsed.
I’ve never used Lua before, and am eager for opportunities to learn new languages, tools, and workflows.
When creating my mesh file format, I kept my focus on ease of creation, reading, and parsing, resulting in the format displayed in the below image:
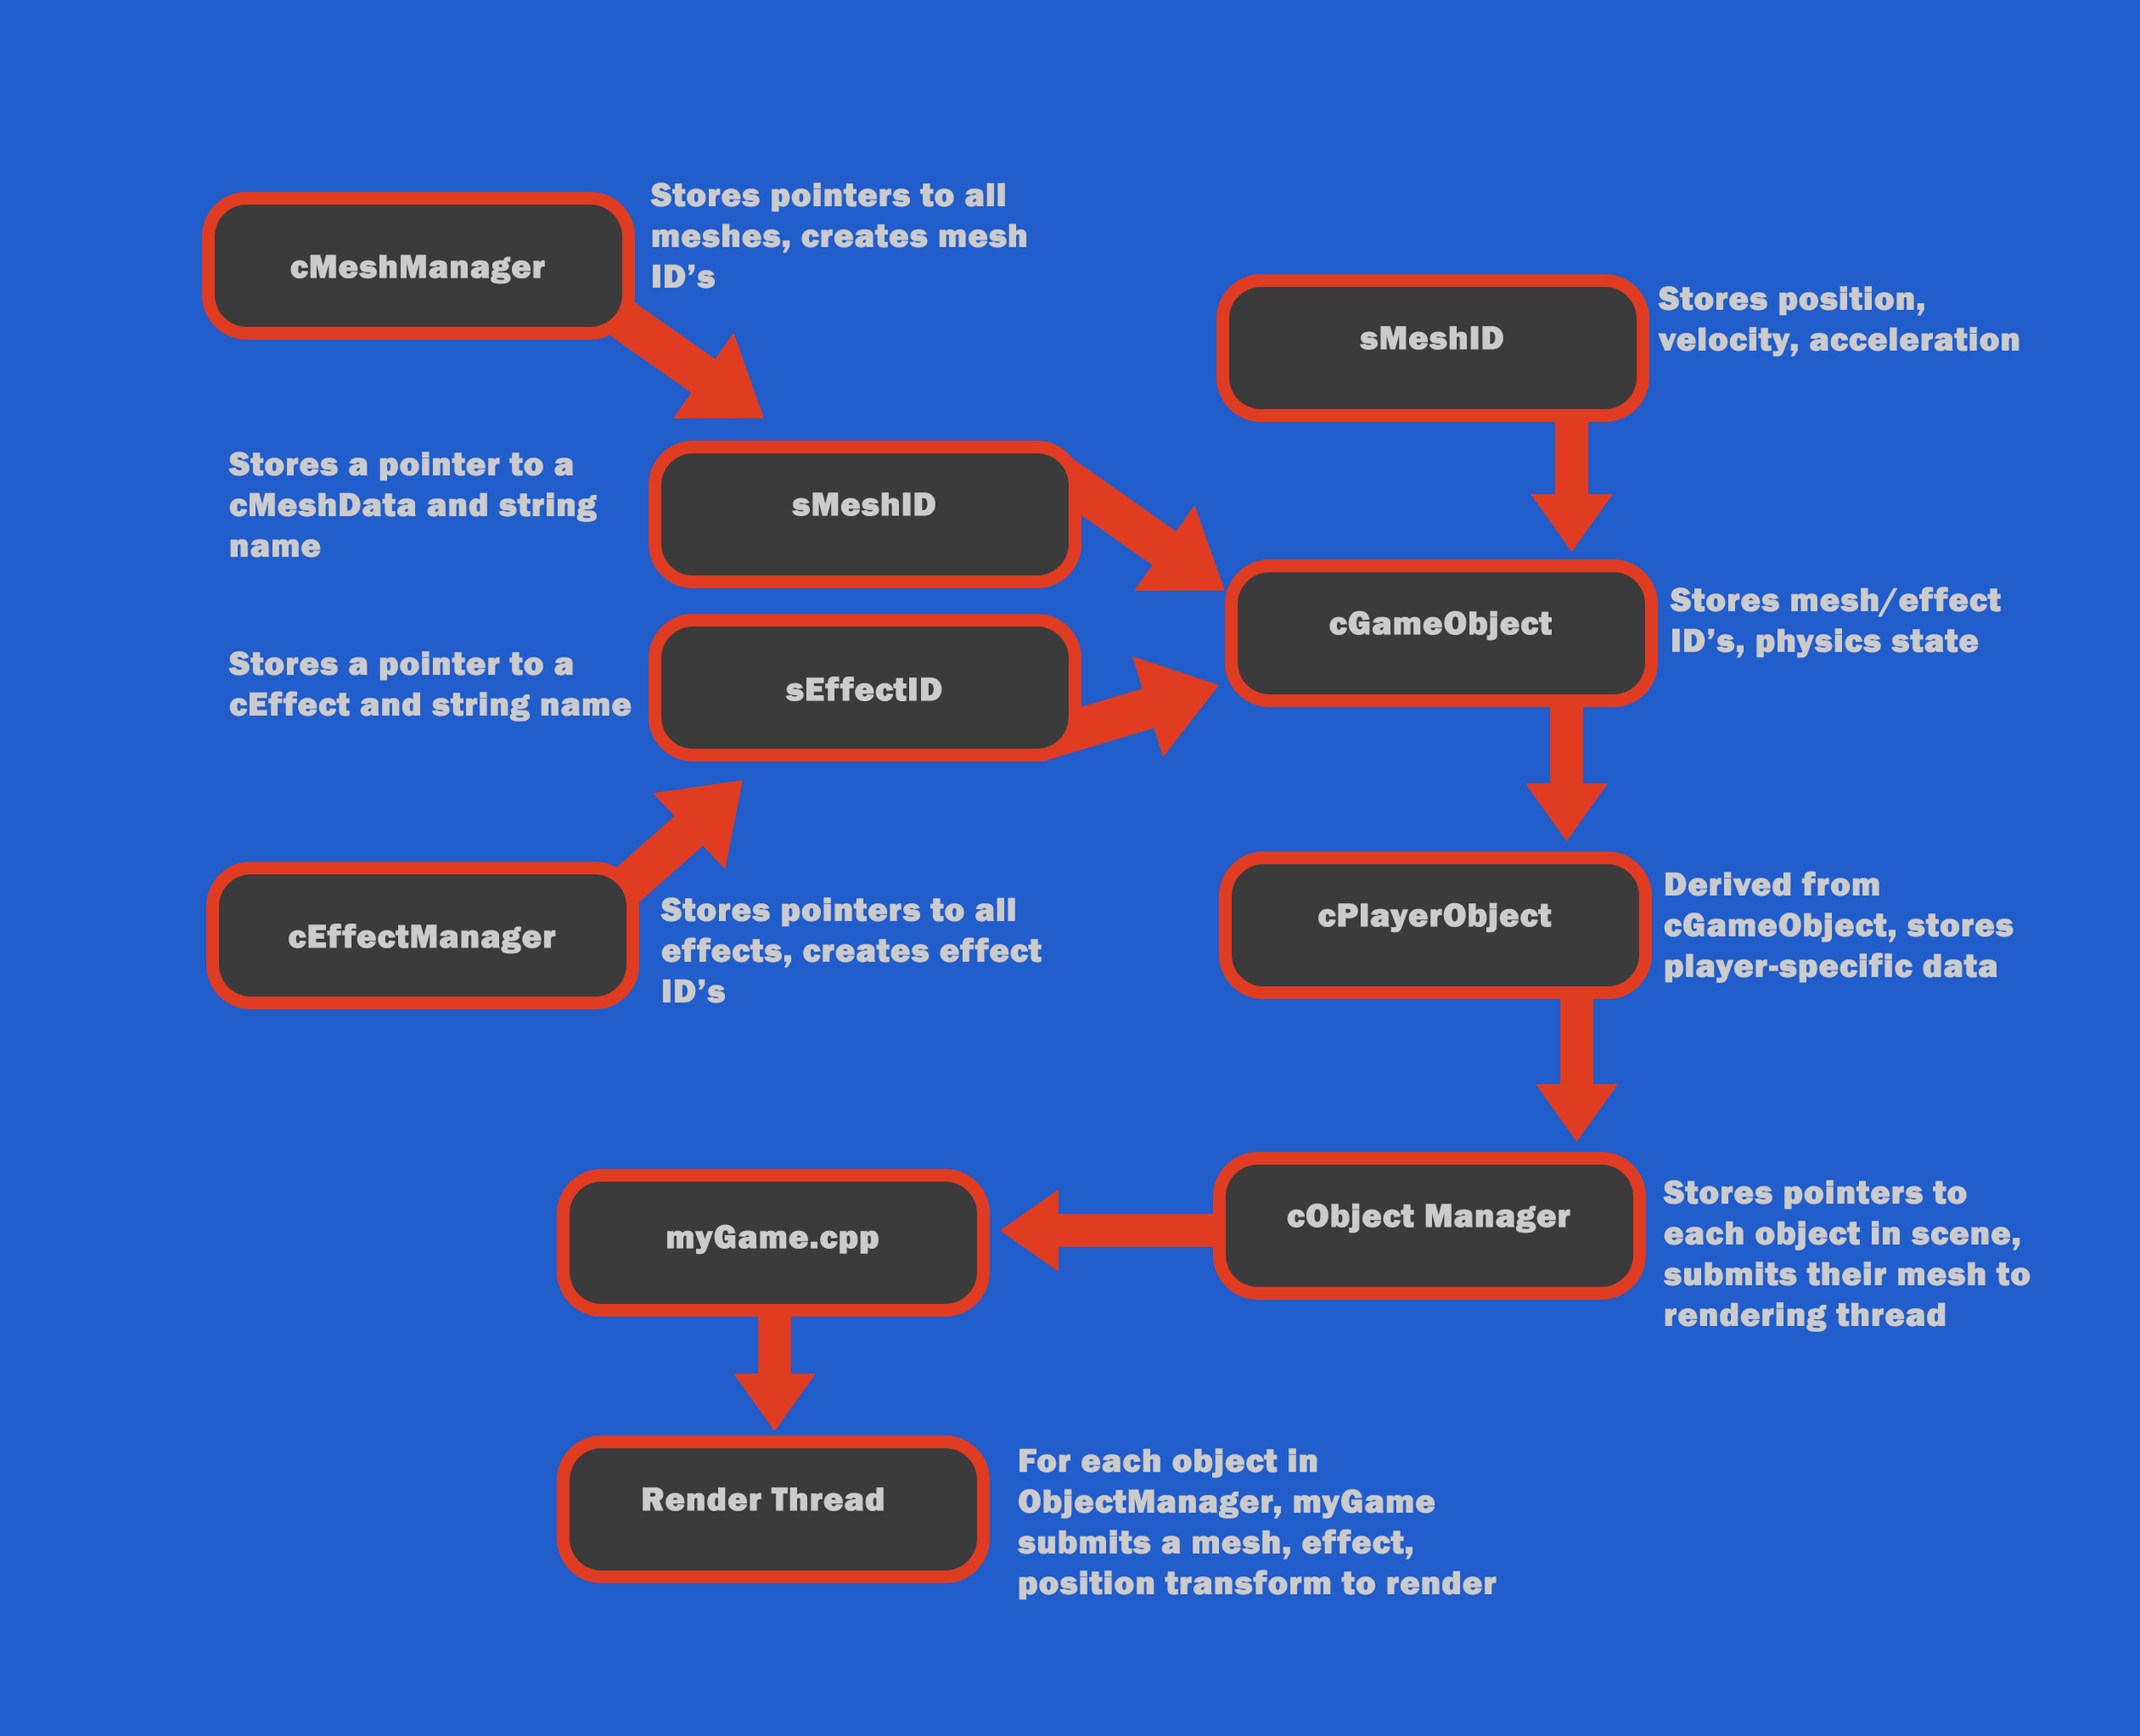
Mesh and Effect managers use the singleton pattern, allowing objects to easily swap ID’s from anywhere.
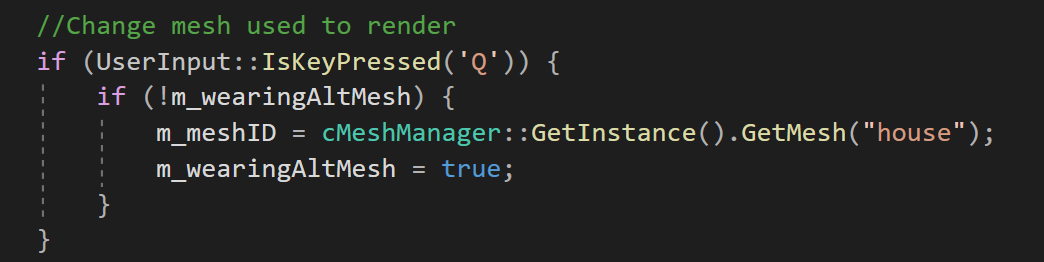
In addition to storing elements, the mesh and effect managers are also responsible for creating their respective elements. This makes for clean and easy-to-use interfaces, in which a gameplay programmer can create and store a reference-counted effect in a single line. While the object manager can do the same, it also supports the storage of objects that it did not create itself. This is because many unique objects (like the player!), use inheritance to gain access to additional features, and cannot be easily created by the manager.
One challenging decision I made was the implementation of ID’s for meshes and effects, rather than storing just the pointers. While their inclusion makes my code a bit less elegant at the moment, increasing storage needs, I felt that there are many reasons a user may want to know the current mesh or effect being used by an object. By forcing objects to store names to themselves, as well as their meshes and effects, a user can easily determine any information about an object’s state from its member variables.
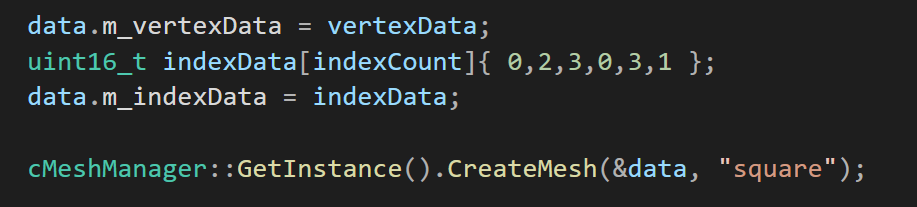
Creating and storing an effect using one line of code. The string provided determines this mesh’s stored name.
User Considerations:
While it can be temping to try and create the most performant or ‘perfect’ system, it’s important to keep the end user in mind. Much of my time this week was spent not on additional features for engine, but making the existing features more intuitive and understandable for other programmers. The below image on the right displays what users originally had to do in order to create and store a player character. The image of the left does not add and functionality to this process, but allows it to be completed in far fewer lines of code. I achieved this through several changes to my system:
Adding complex constructors to ID structs for single-line creation and initialization.
Allowing player objects to initialize at the time of creation.
Forcing managers to return ID’s instead of pointers.
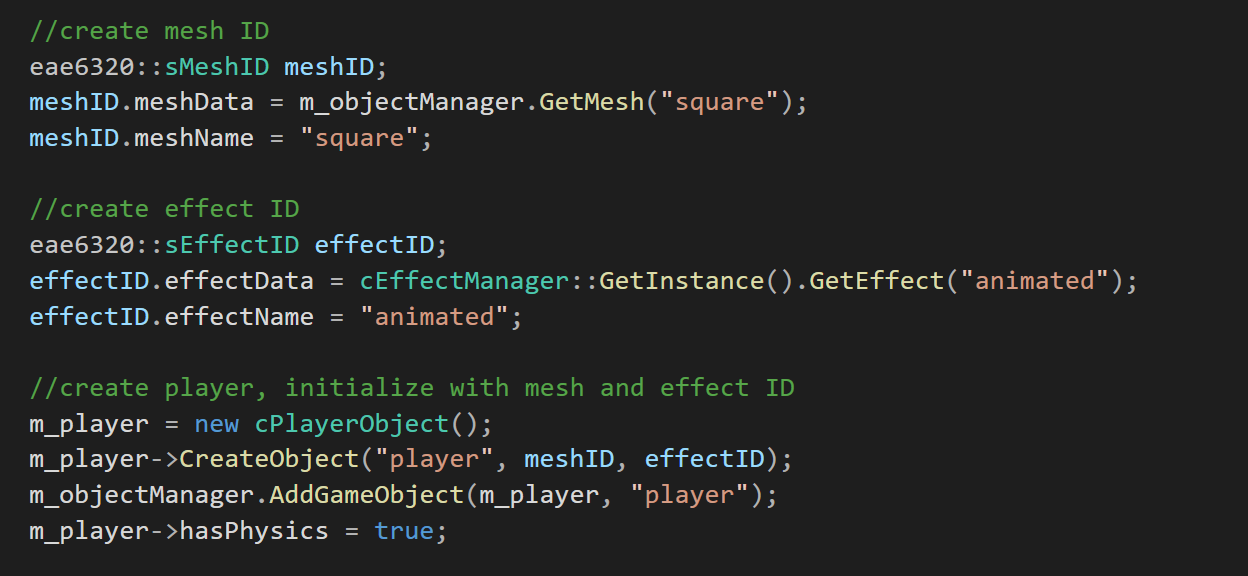
Old, disguting player creation.
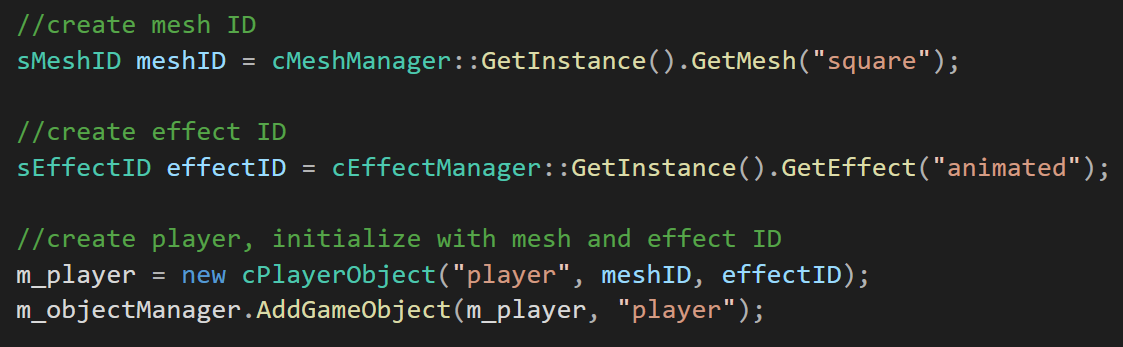
New and improved player creation.
Manager System Overview:
The following diagram displays the relationship between each manager, and how users can create and store objects, meshes, and effects.
Making Shaders Platform-Independent:
As of last week, adding new effects to my game was somewhat intensive work, as each shader needed to be fully defined twice: once for D3D, and another time for openGL. Wanting to save myself the effort in creating future shaders, I decided to use my shaders.inc file to define a series of macros, which, when used for each shader, allowed me to create a pseudo-multi-platform shading language. Macros work as clever find-and-replace operations, allowing the same user-written code to compile into entirely differnet functions, depending on the environment.
Once again, this is work that seems slighlty inefficient/unimportant now, but will pay dividends as I expand my game’s content in future weeks. The following images display a glimpse of my shaders.inc macros, and a resulting function that builds correctly in both D3D and OpenGL, without need for #if defined statements.
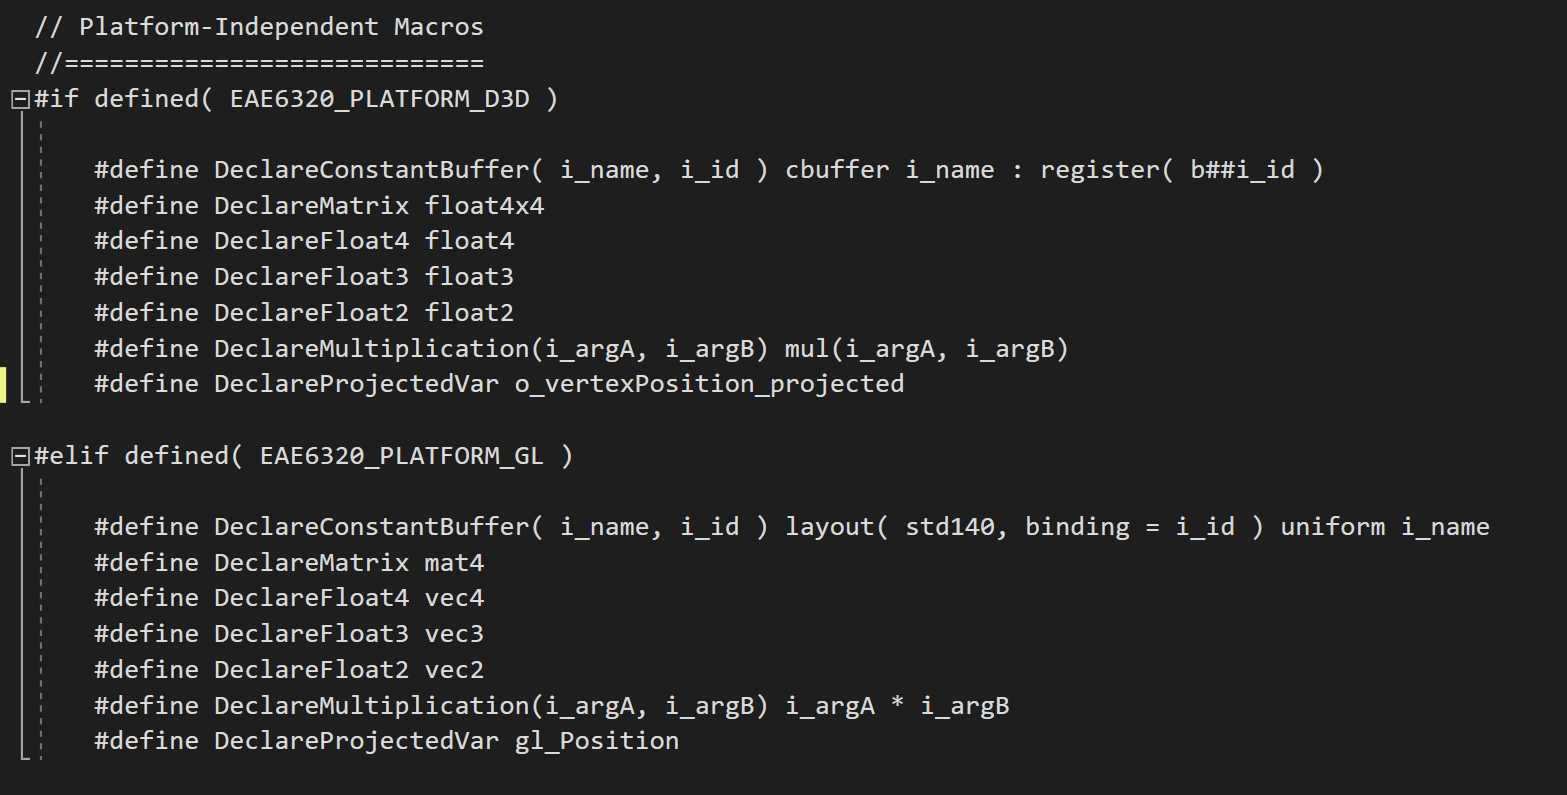
Creating my multi-platform shading language through macros.
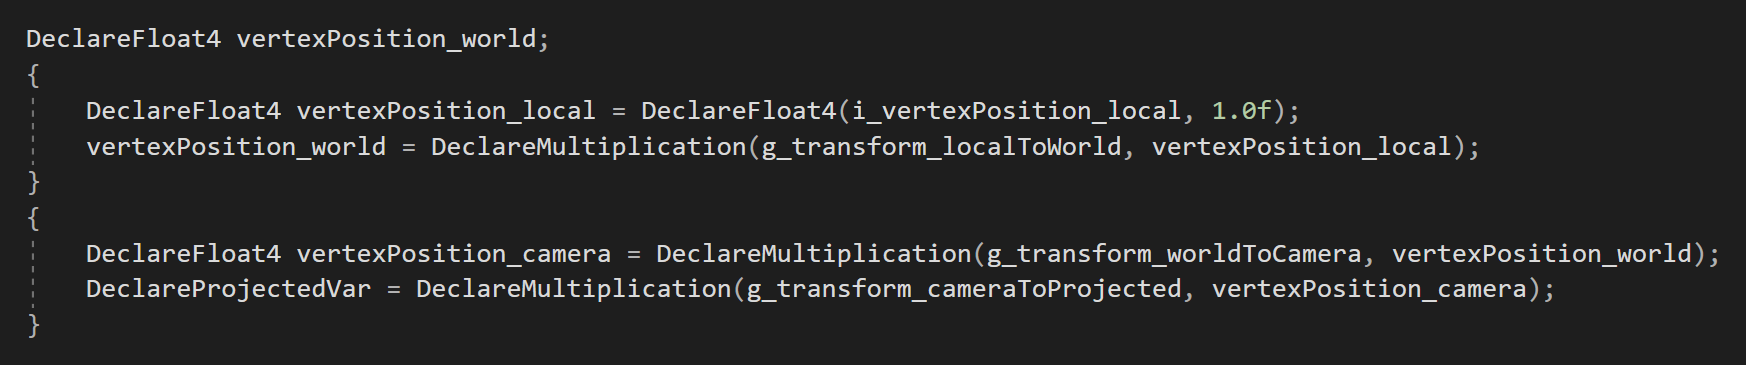
A newly platform-independent vertex shader function.
Week Overview:
Eagle-eyed readers may notice that the above video looks suspicioulsy like last week’s demo - that’s because it is! This week, rather than adding new playable features, I began buidling out my datat pipeline for future development. I started by removing hard-coded mesh initialization values (ugly arrays of vertices and indices) and replacing them with readable .lua files that can be automatically parsed by the engine. This change makes my interface for loading meshes much cleaner, allowing for an easier user experience and opening the way for further automation in coming weeks - such as custom exporter for Maya!
Below I have listed the major lessons I learned this week:
Understanding the advantage of human-readable assets.
Balancing the ease of automation with the flexibility of manual customization.
Building comfortability with parsing - This was my first time parsing a scripting language in C++!